
Christmas Eve Wishes CAL - Week Six
UPDATE: This pattern is now available to buy as an advert free pdf download. The pattern includes all six parts of the original CAL in one document. It is available in UK and US terms. You can find it in my shop here.
It’s the final week and time to add a border and finishing touches.
If you have just found this CAL and haven’t seen any of the buildup posts, I will link them for you below:
Click here to read my CAL Introduction post. This has all the information you need to know such as dates and materials required. This post also includes links to buy yarn packs.
Click here to read FAQs. In this post I have gathered together questions I have been asked about the CAL. You can find instructions to make the blanket larger or smaller here too.
Click below for previous pattern parts and videos:
TIPS OF THE WEEK
This week I am going to share some tips to help you straighten out your edges before adding a border. They are all simple techniques that don’t require any special equipment, but will really make a difference to the appearance of your blanket.
All of these methods will help you to sort out issues such as differences in tension between sections in different stitches. I would say though, that unless your edges are VERY wavy, just trust the border to even things out. It is normal to have slight differences in tension between stitch types so there will always be a bit of variation in width down the sides of your blanket. I show you mine in the video this week and it’s not perfectly straight. Adding a round of small, well placed stitches(and not too many!) will do wonders. I give you tips and show you how in the pattern and the video. The first step is to get all of your tails sewn in and then if you feel like your blanket needs a bit of extra help, you can try one of these.
Gentle reshaping
If your charted sections (snowflakes, gingerbread men or Santa hats) are slightly tight and pulling inwards, lay your blanket out flat on some towels and spray lightly with water to dampen. Ease the tight sections out to the correct width by giving them a gentle pull. Leave to dry completely before adding your border.
Steaming
Lay your blanket out on some towels and LIGHTLY steam it with steam from a handheld steamer or from a steam iron. Hold the steamer or iron about 20cm above the blanket and don’t let it touch. While the blanket is warm, gently ease it into shape. Try not to stretch the yarn too far, the changes will be permanent. You need to use a light touch when using steam as too much or rough handling while warm can damage the acrylic yarn. Leave to cool completely before moving. Less is more with steam but very effective for straightening things out.
Warming Up
If your blanket is a bit wonky all over you can warm it up in a tumble dryer for a few minutes and then lay it out flat and reshape while it is warm. Leave to cool completely before moving. Sirdar Hayfield Bonus DK is safe to put in a warm dryer, but please check the label of the particular yarn you have used before using this method.
Washing
Giving your blanket a quick wash is a really good way to square things up and make it nice and fresh for gifting. This is best done after the border has been added but before you sew on the pom poms. Wash according to the yarn label instructions and lay out flat on some towels. Reshape while damp and leave to dry fully.
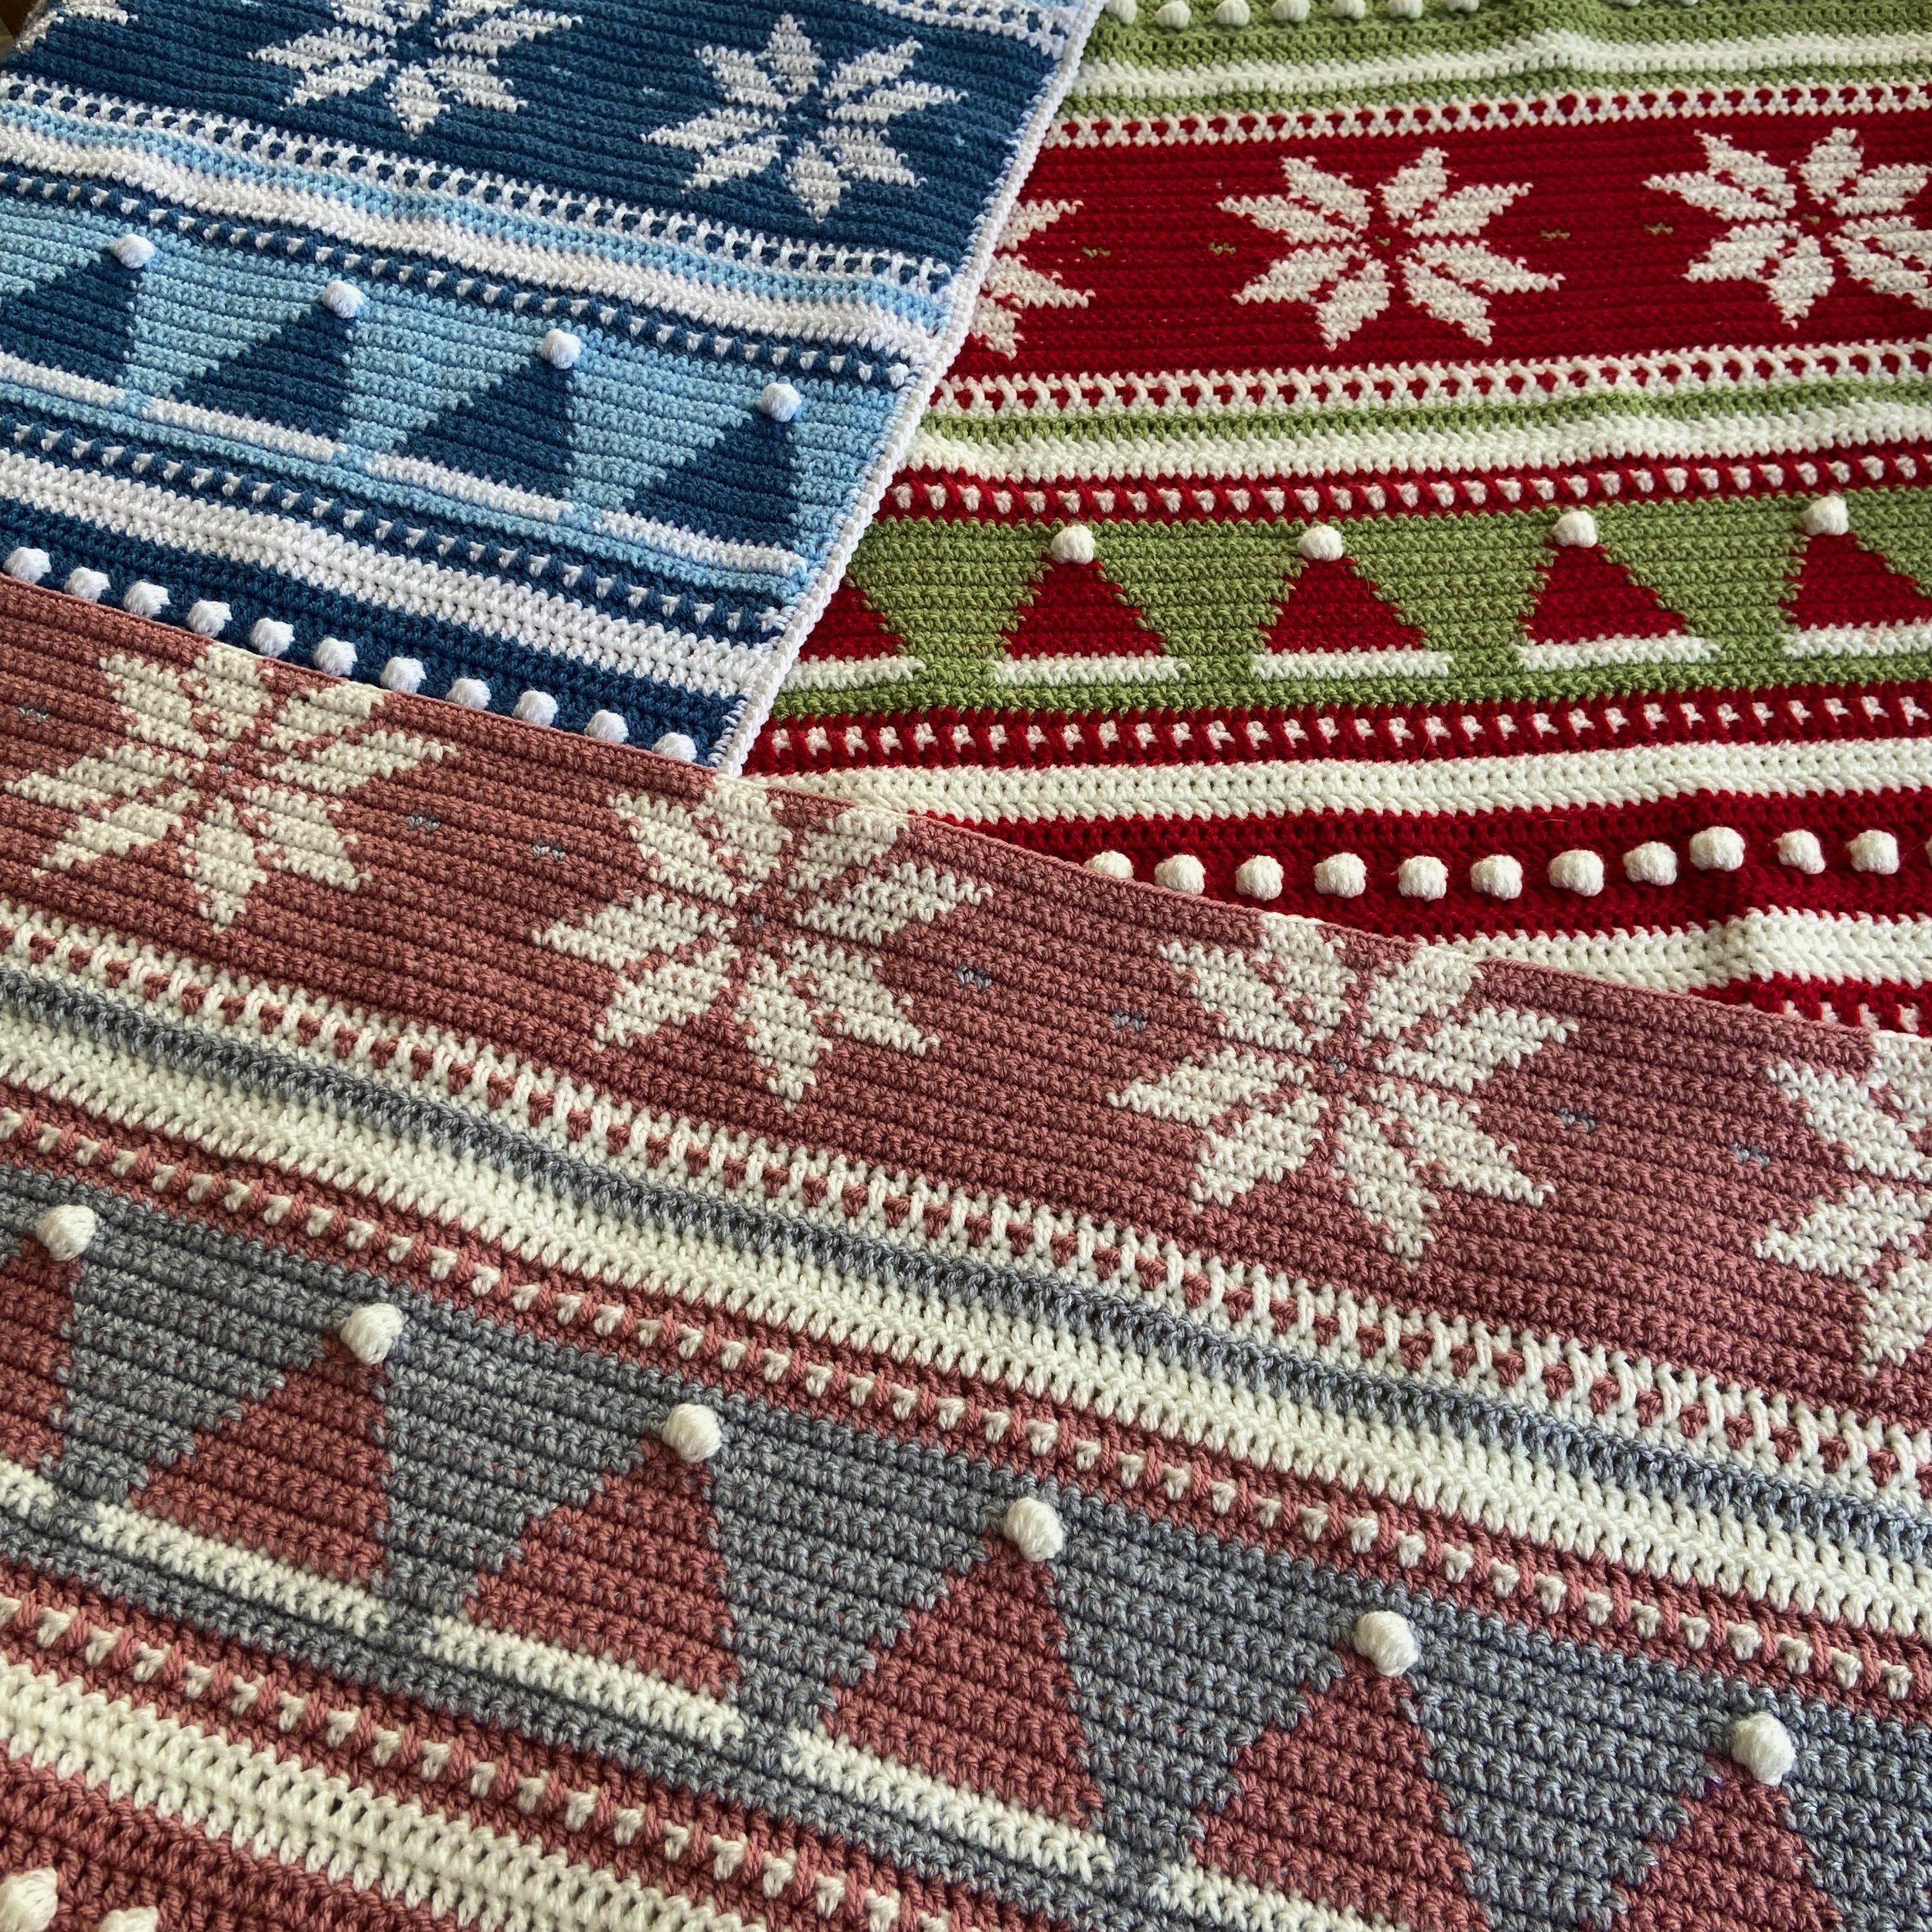
Yarn packs for all three of my colourways are available from Sirdar.
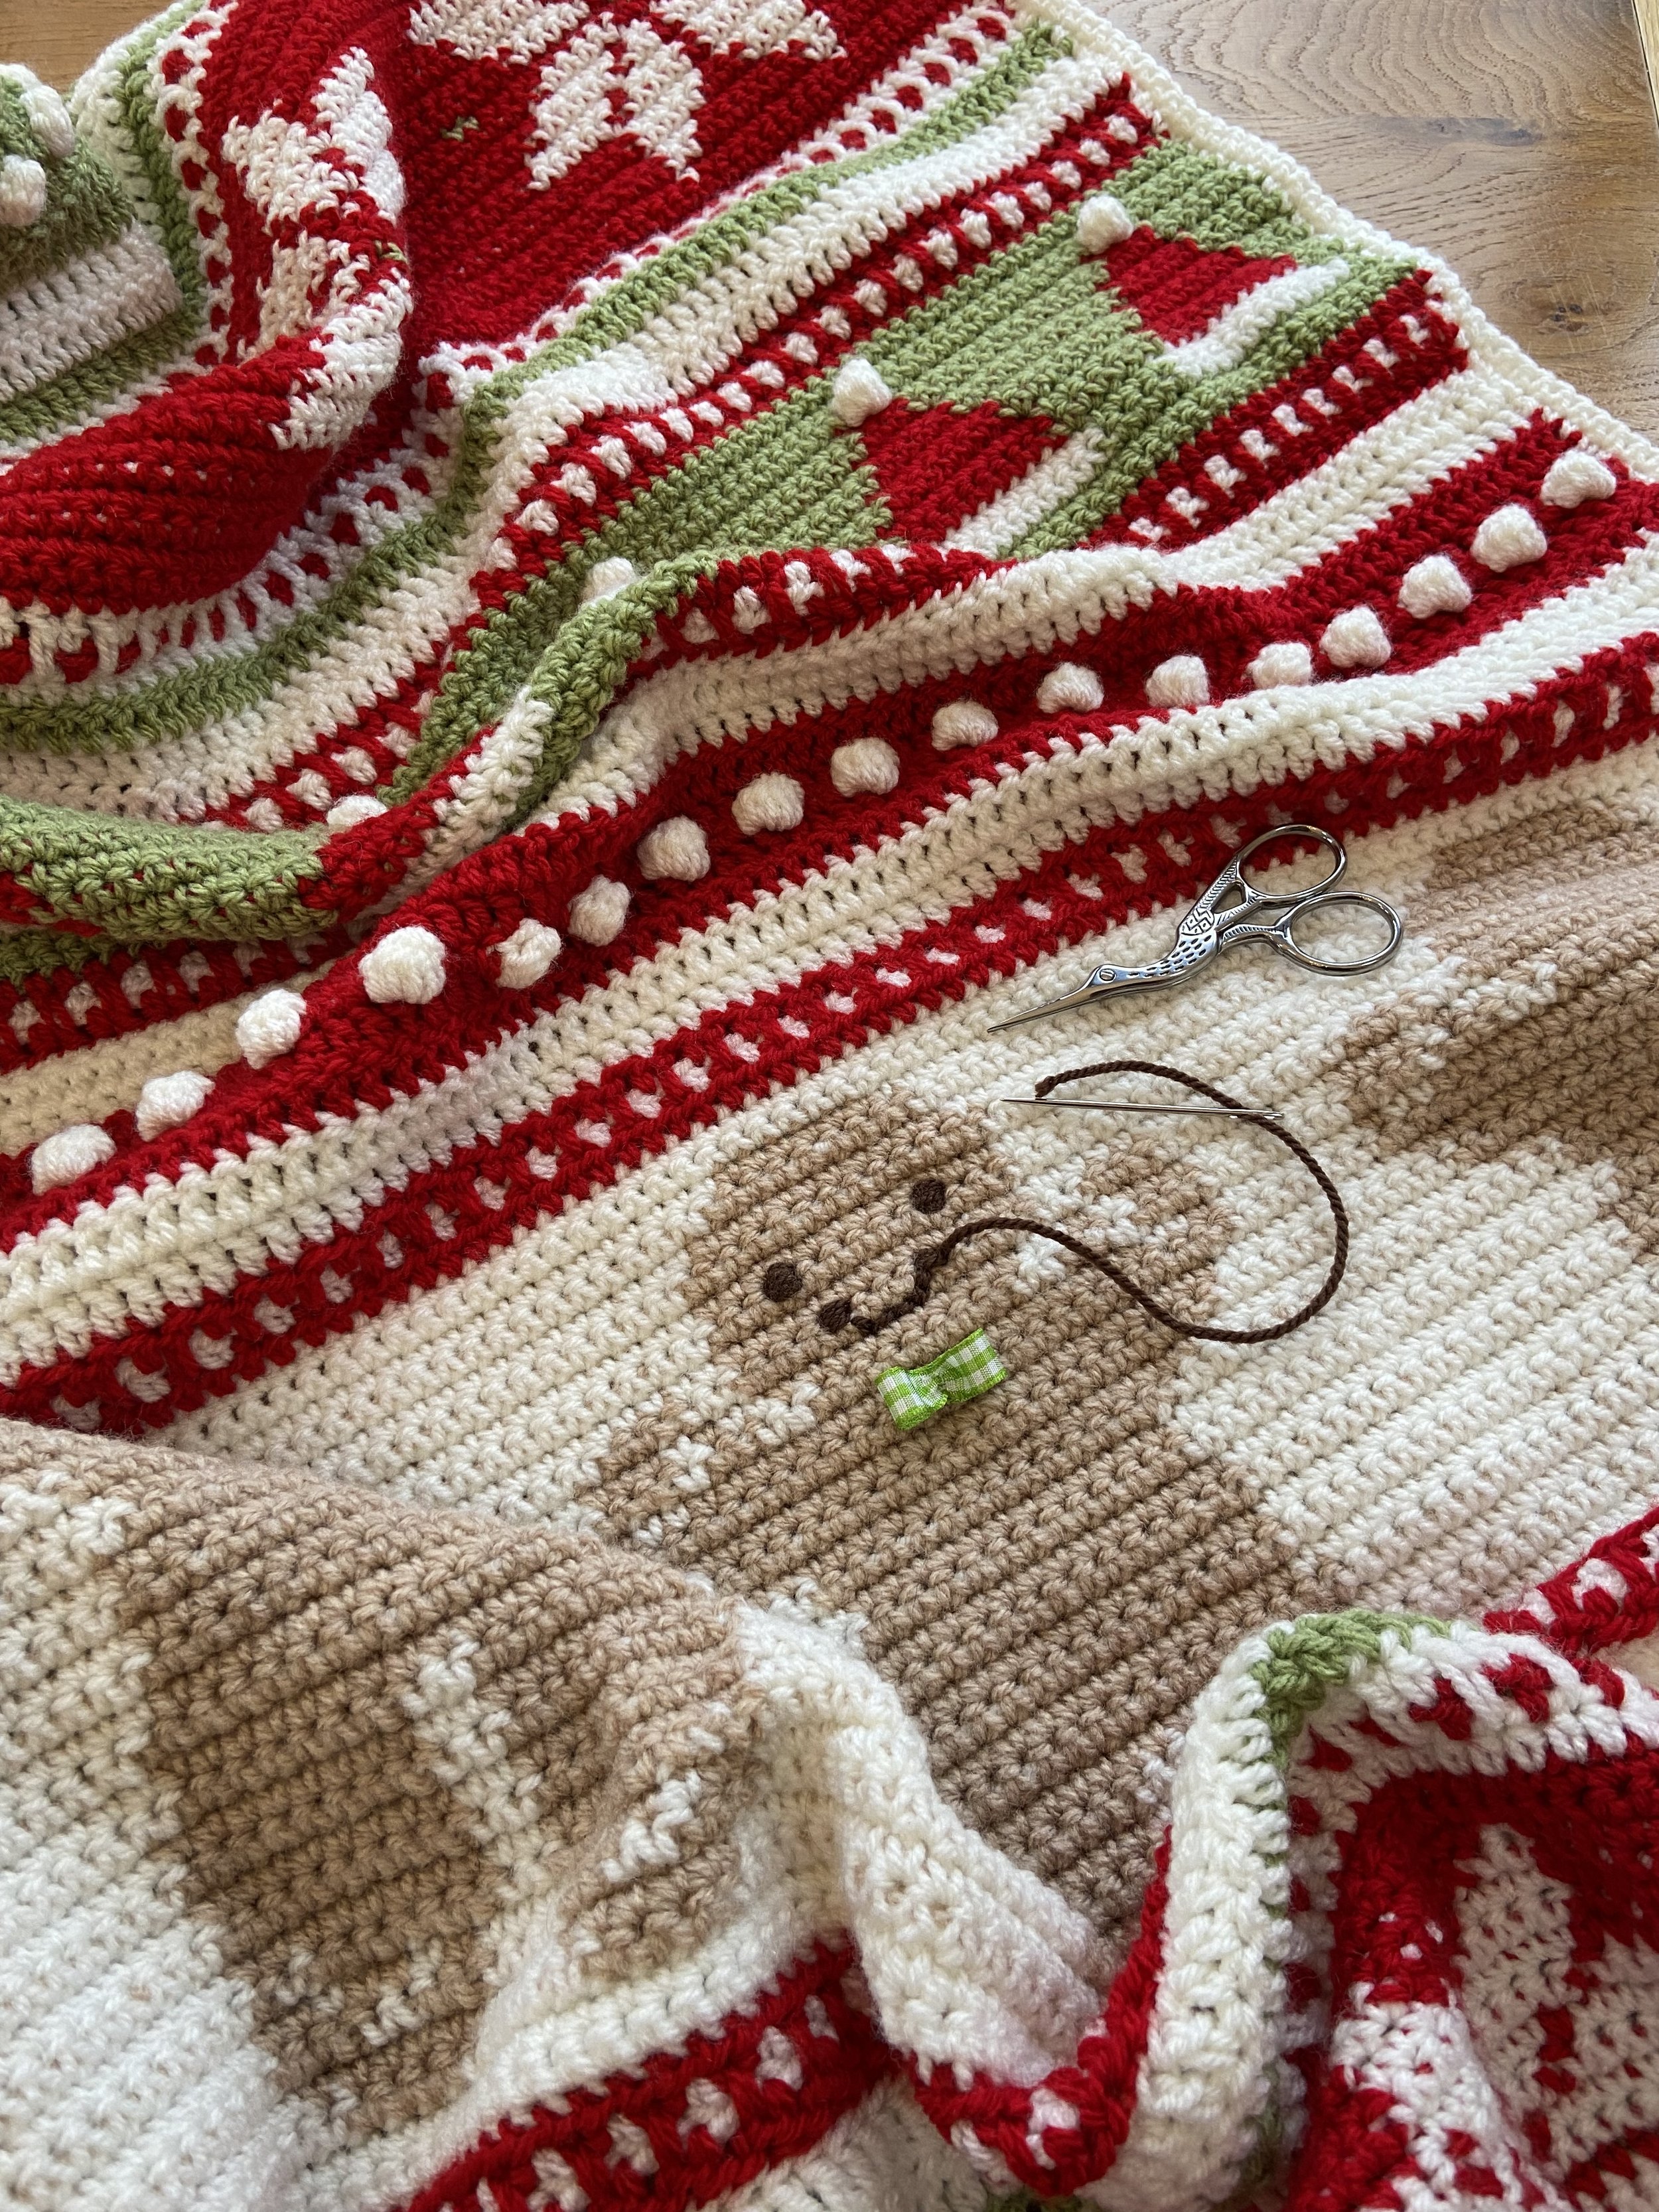
Week 6 – Finishing, Faces and Border
The last stage of the blanket is to bring the gingerbread people to life and add a border. I kept my people simple, but you could really go to town with crocheted buttons and bows.


1 . To make the faces easy to embroider, I have used the natural grid that appears when you work lines of double crochet. The white dots show the positions of the stitches.
2. Using the brown yarn and the yarn needle, pull the yarn through from back to front. Leave a tail to sew in later.
3. Make your first stitch.
4. Now make 7 more stitches, on top of one another to form the eye. As you make each stitch, try to encourage them to lay above and below your original stitch. Don’t pull them too tightly. This will give you a nice rounded eye shape.
5. Repeat for the other eye.
6. Now follow the dots to make the mouth. Make 2 stitches between each dot to give more definition to the mouth.
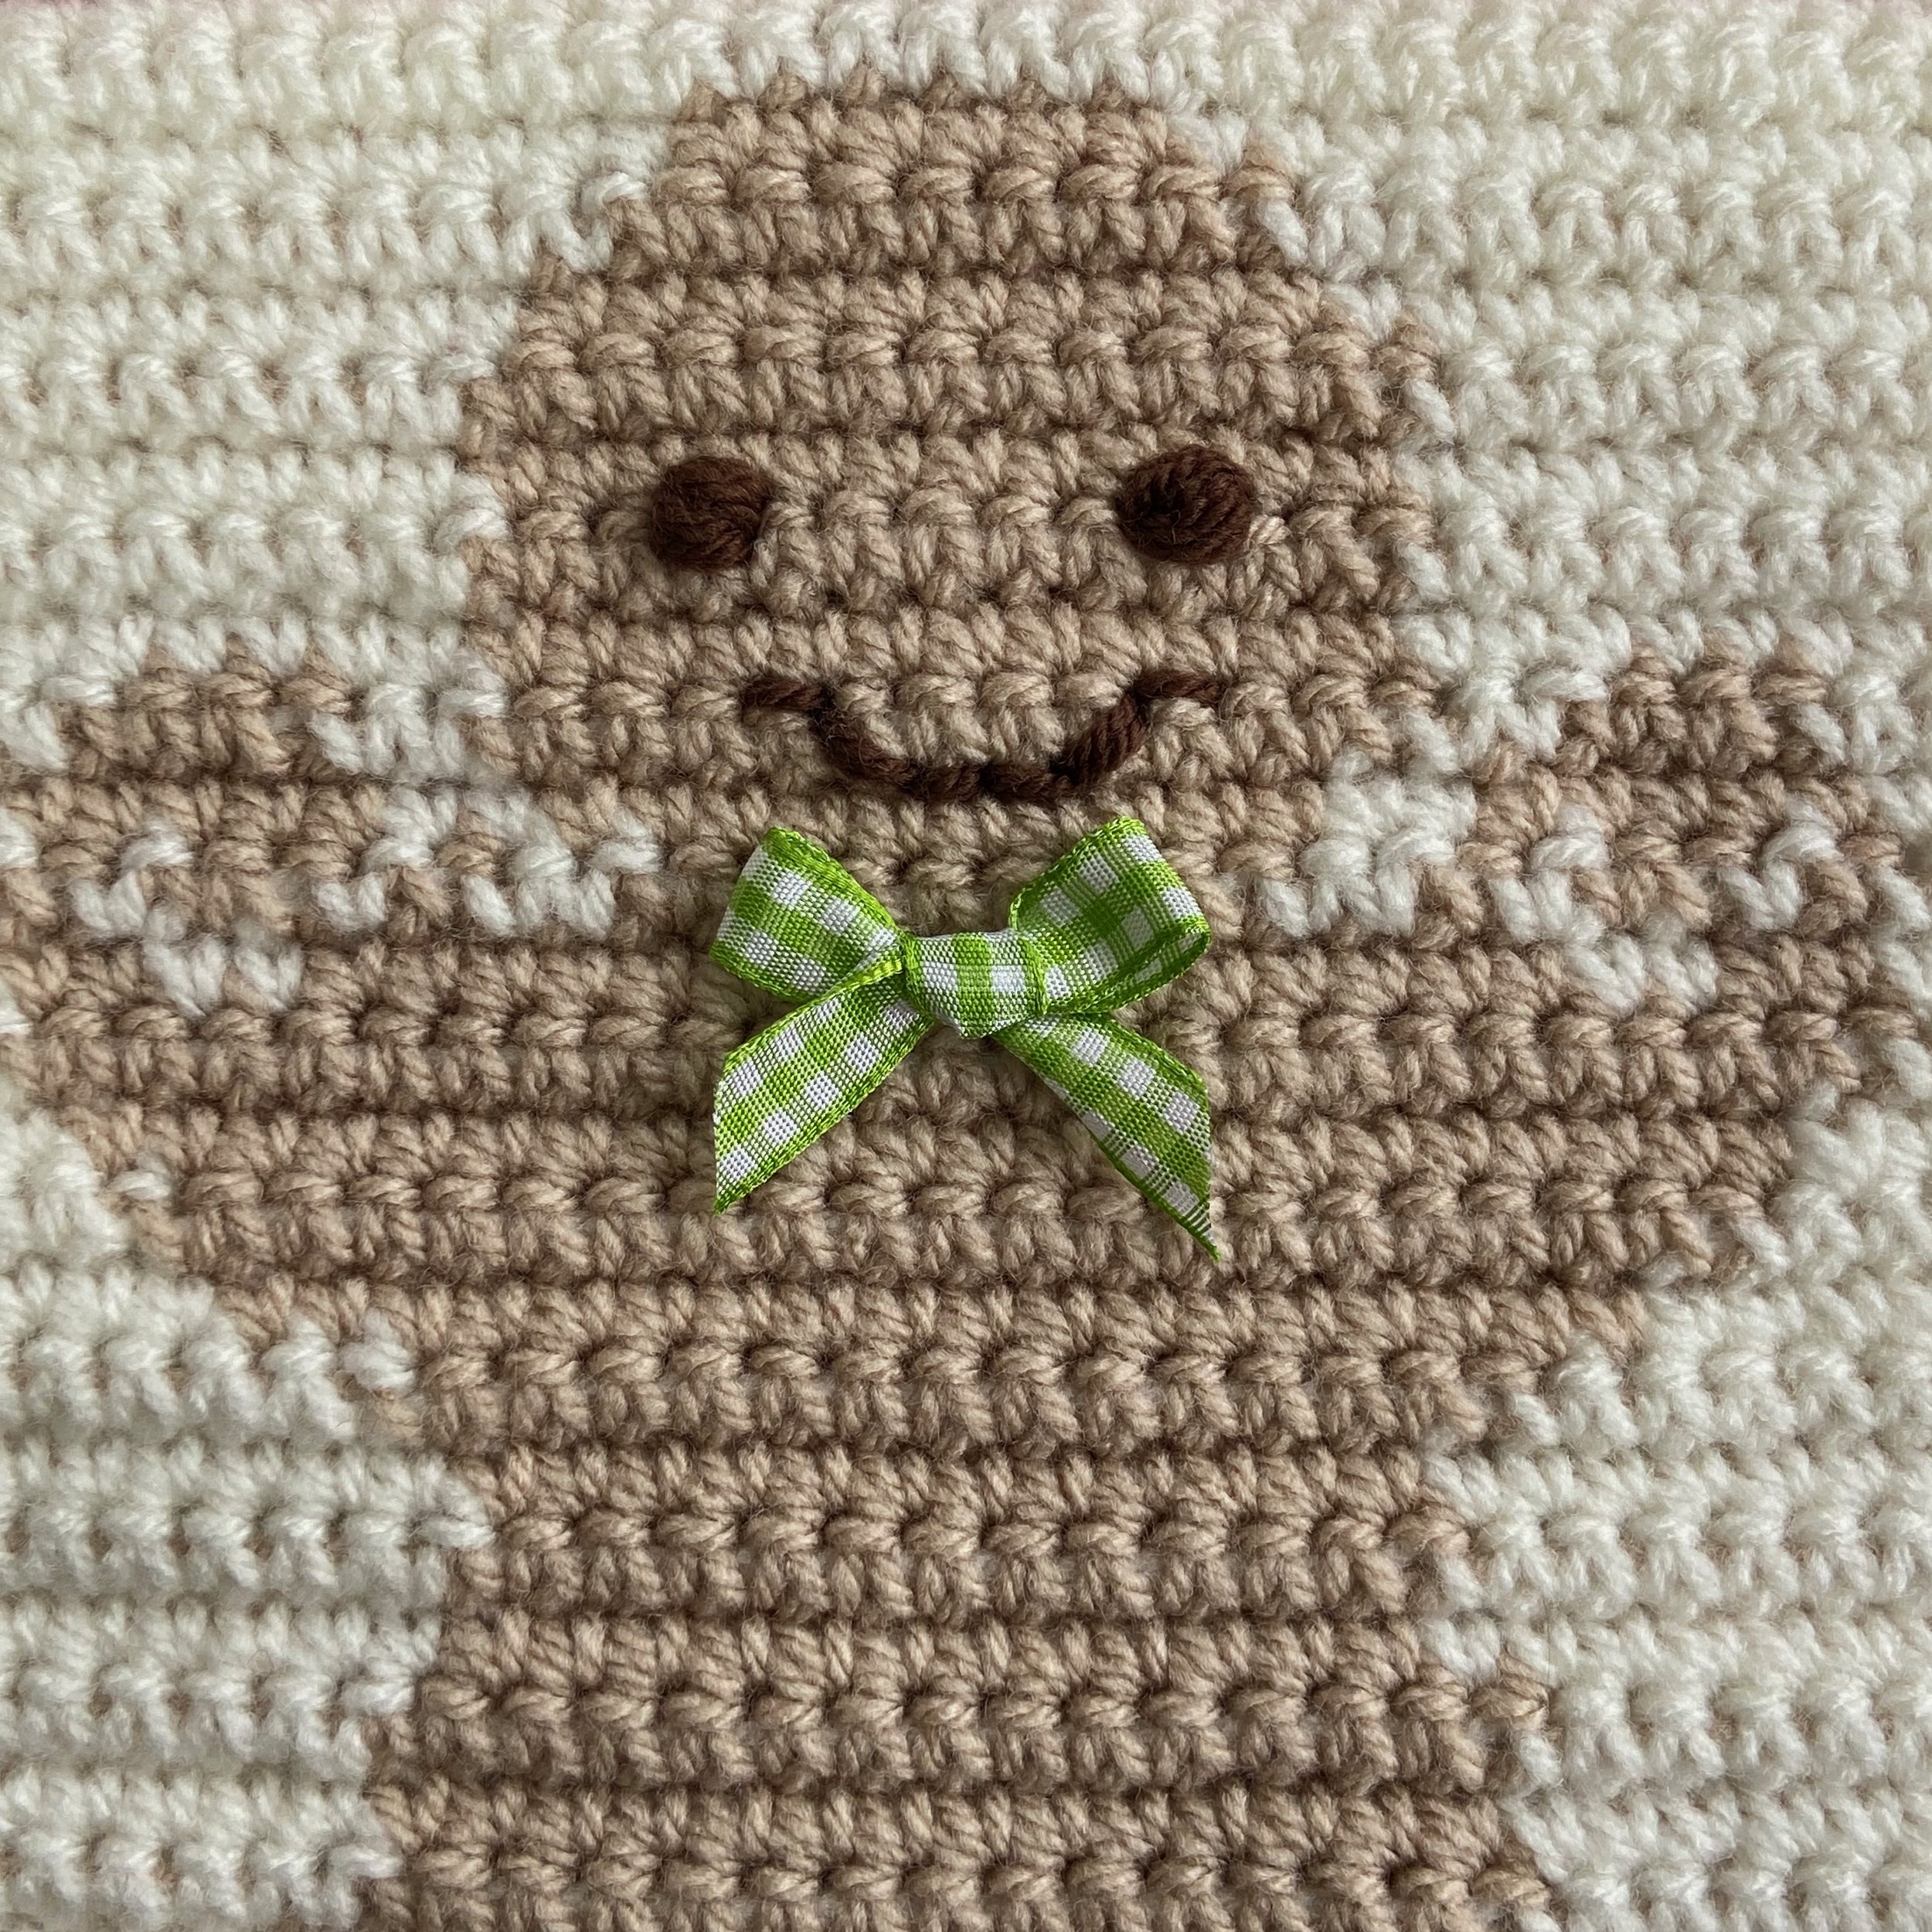
The bow ties are just little bows made from gingham ribbon. I sewed the bows with regular sewing thread to prevent them being undone by little hands and then sewed them securely to the blanket.
it stand out
Border
Lastly, there is the border. As there is so much going on in the blanket, I’ve decided to keep it simple.


Using a 4mm hook, join cream yarn at any point on one of the short sides. Dc in each stitch until you reach a corner. 1 dc, 2 ch,1 dc in the same stitch to turn the corner.
Now it’s time to tackle the long side. I have a very easy way to make sure you have the perfect number of evenly spaced stitches.
At the end of every treble crochet row, make 2 double crochets. If it’s a half treble row or a double crochet row, just make 1 double crochet.
This is the perfect amount of stitches to ensure your border lays flat and is completely straight. There’s no need to count stitches.
Work around the edge and slip stitch to join. I chain and dc in the same stitch. Work one more round in cream, making 1 dc in each stitch and 1dc, 2ch,1dc in the corner spaces.
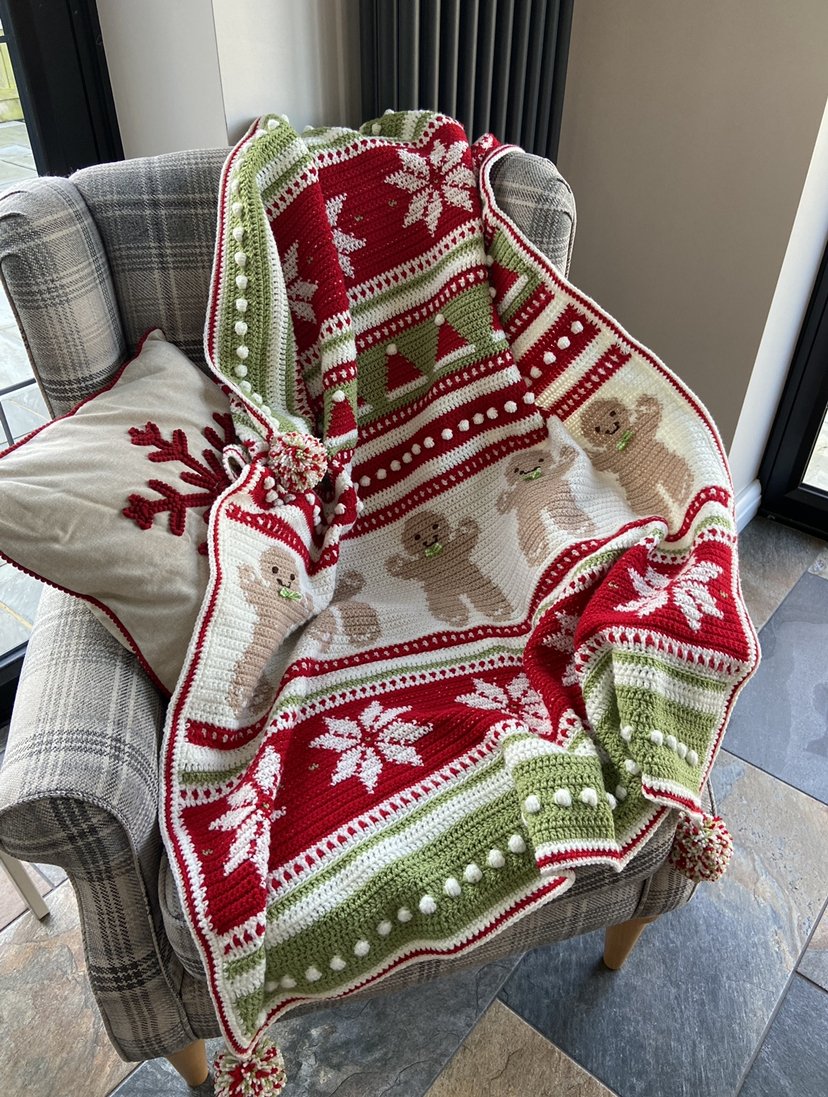
Pompoms are optional, but if you want to add them, now is the time. I used a 50mm pompom maker and all the leftover bits of red, green and cream yarn.
Ta DAAAAA!!
Here is the link to take you to the video on YouTube. There are timestamps in the YouTube video description box to help you find the part of the video you need.
The video has subtitles and you can translate them into different languages.