Vintage Hexies - Part 3
EDIT: This pattern is now available to buy as an ad free downloadable PDF. All 3 parts of the pattern will remain available for free here on my website.
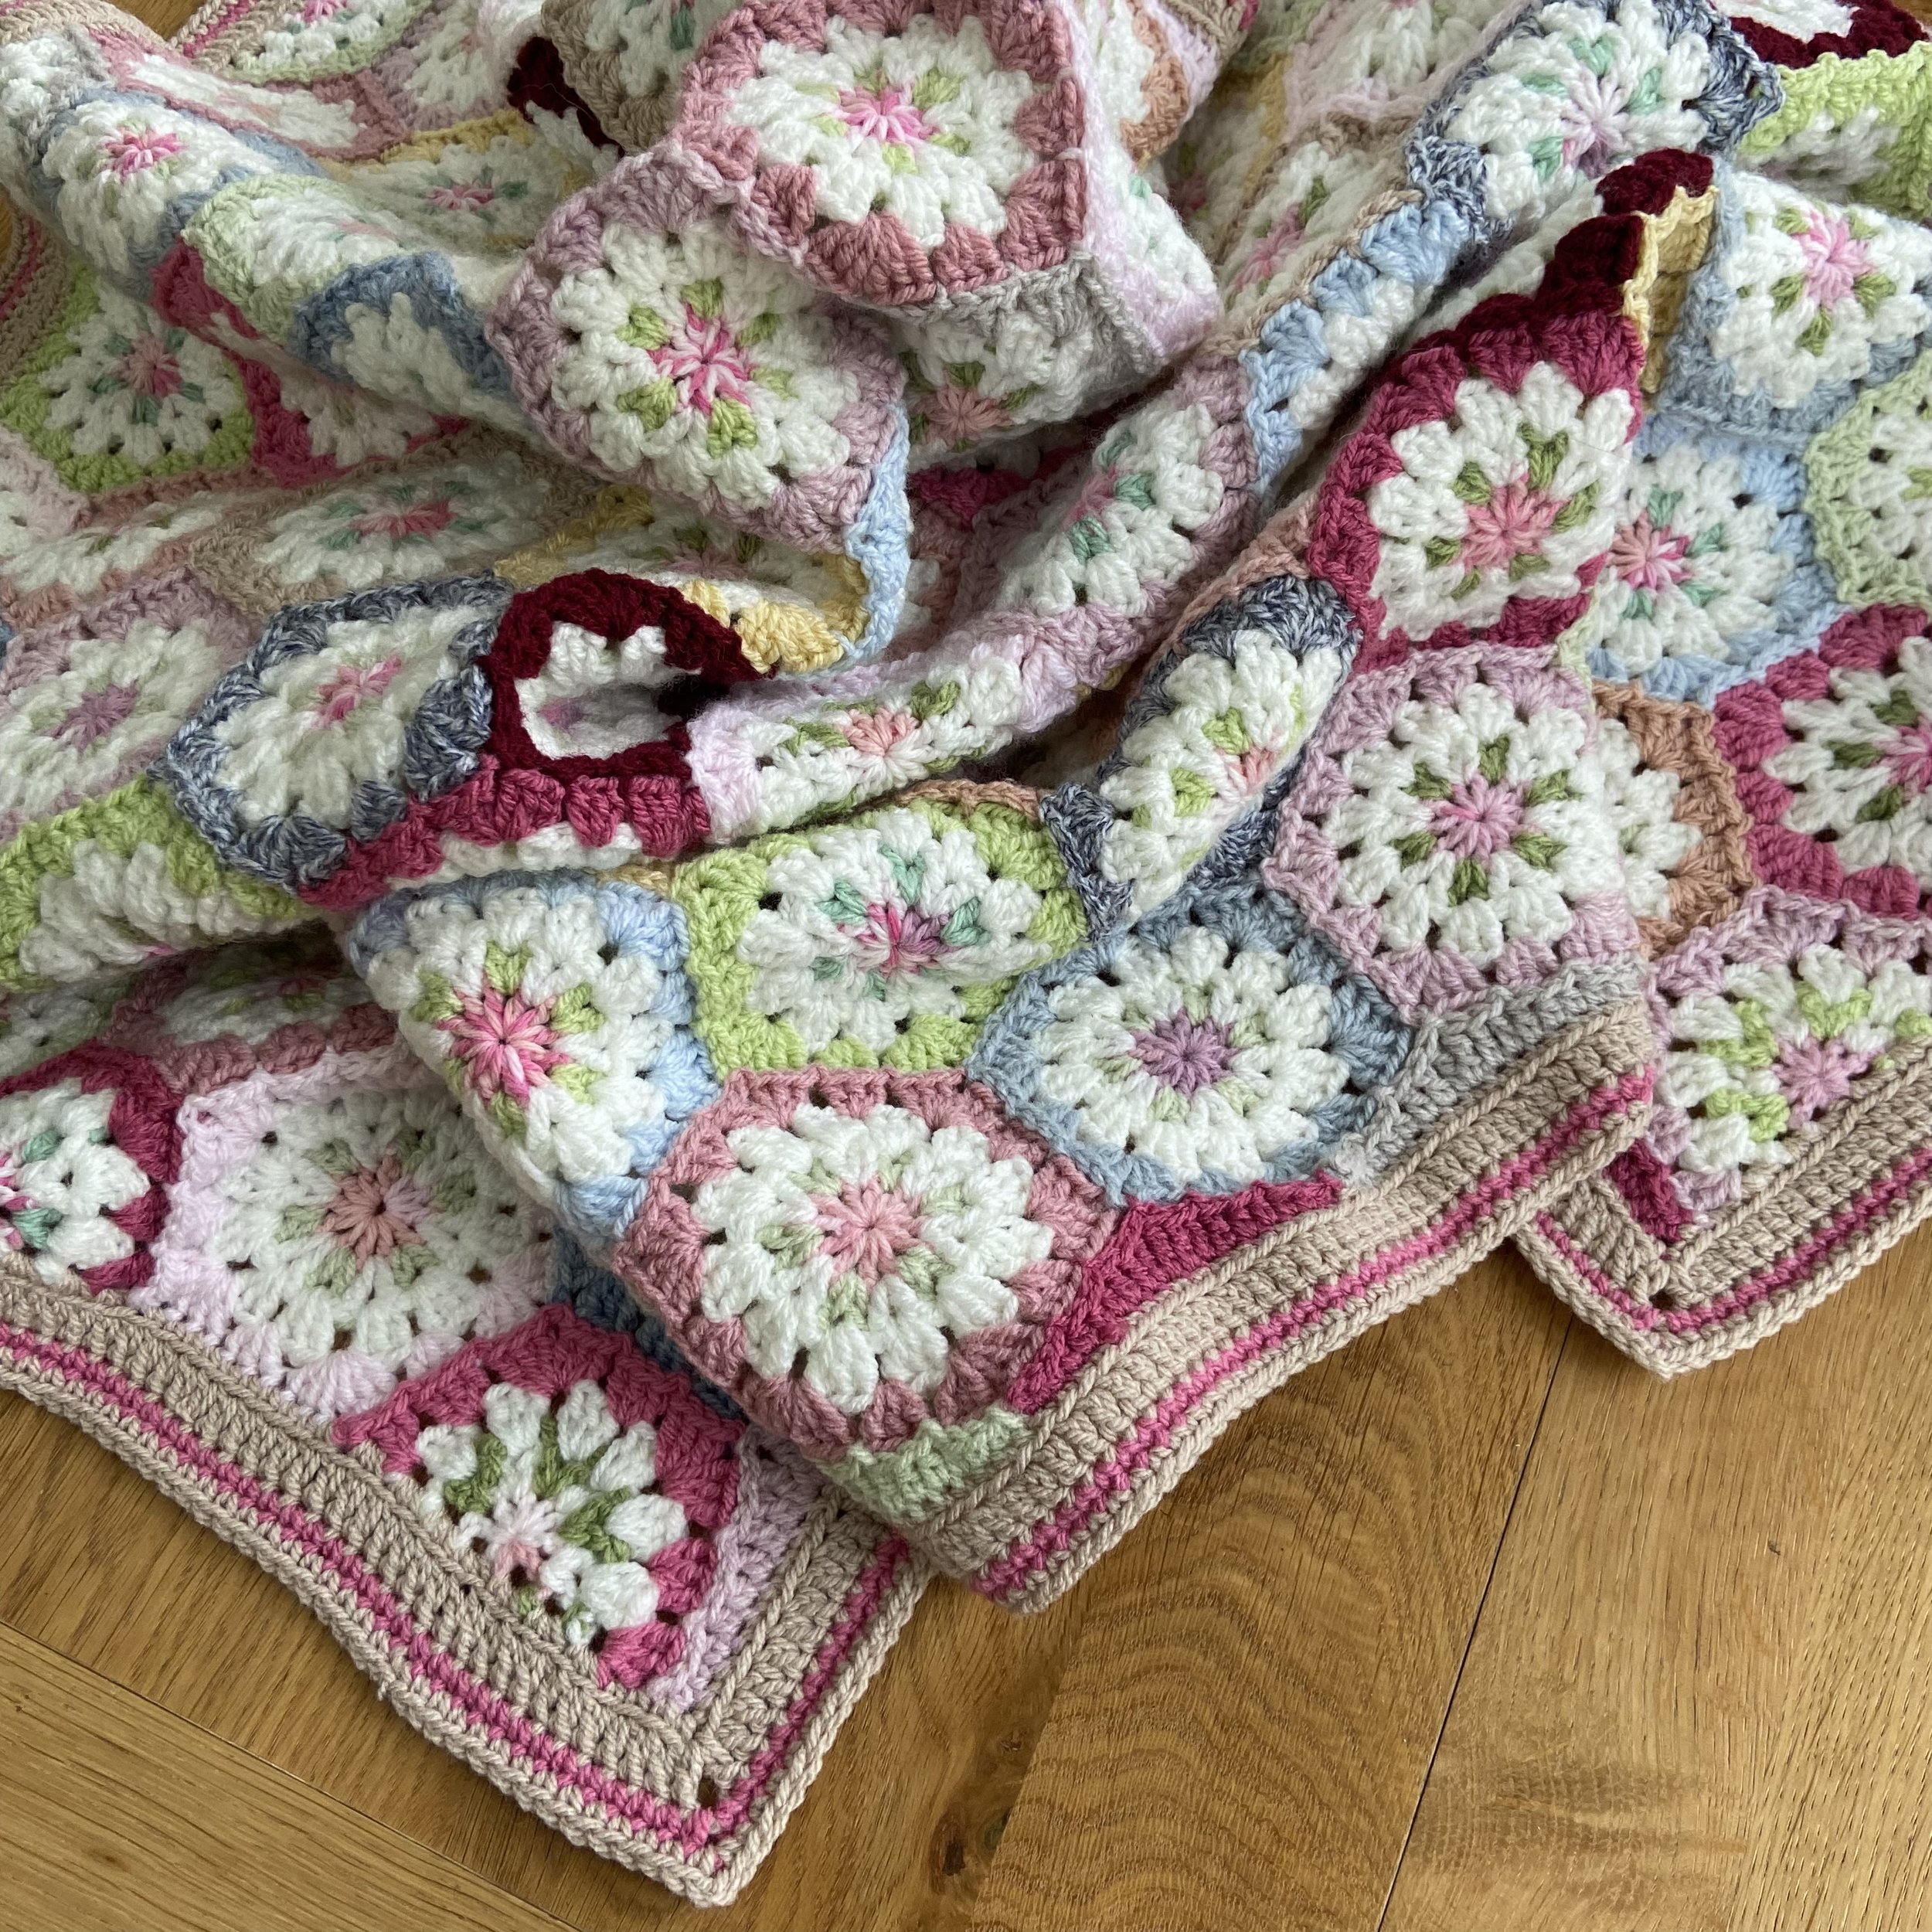
This has been such a lovely project to work on I am very sad that it is complete and I won’t be picking it up here and there to add more hexies. At the same time I am delighted with it. Due to its construction it has a satisfying weight to it and I am really pleased with the colour choices.
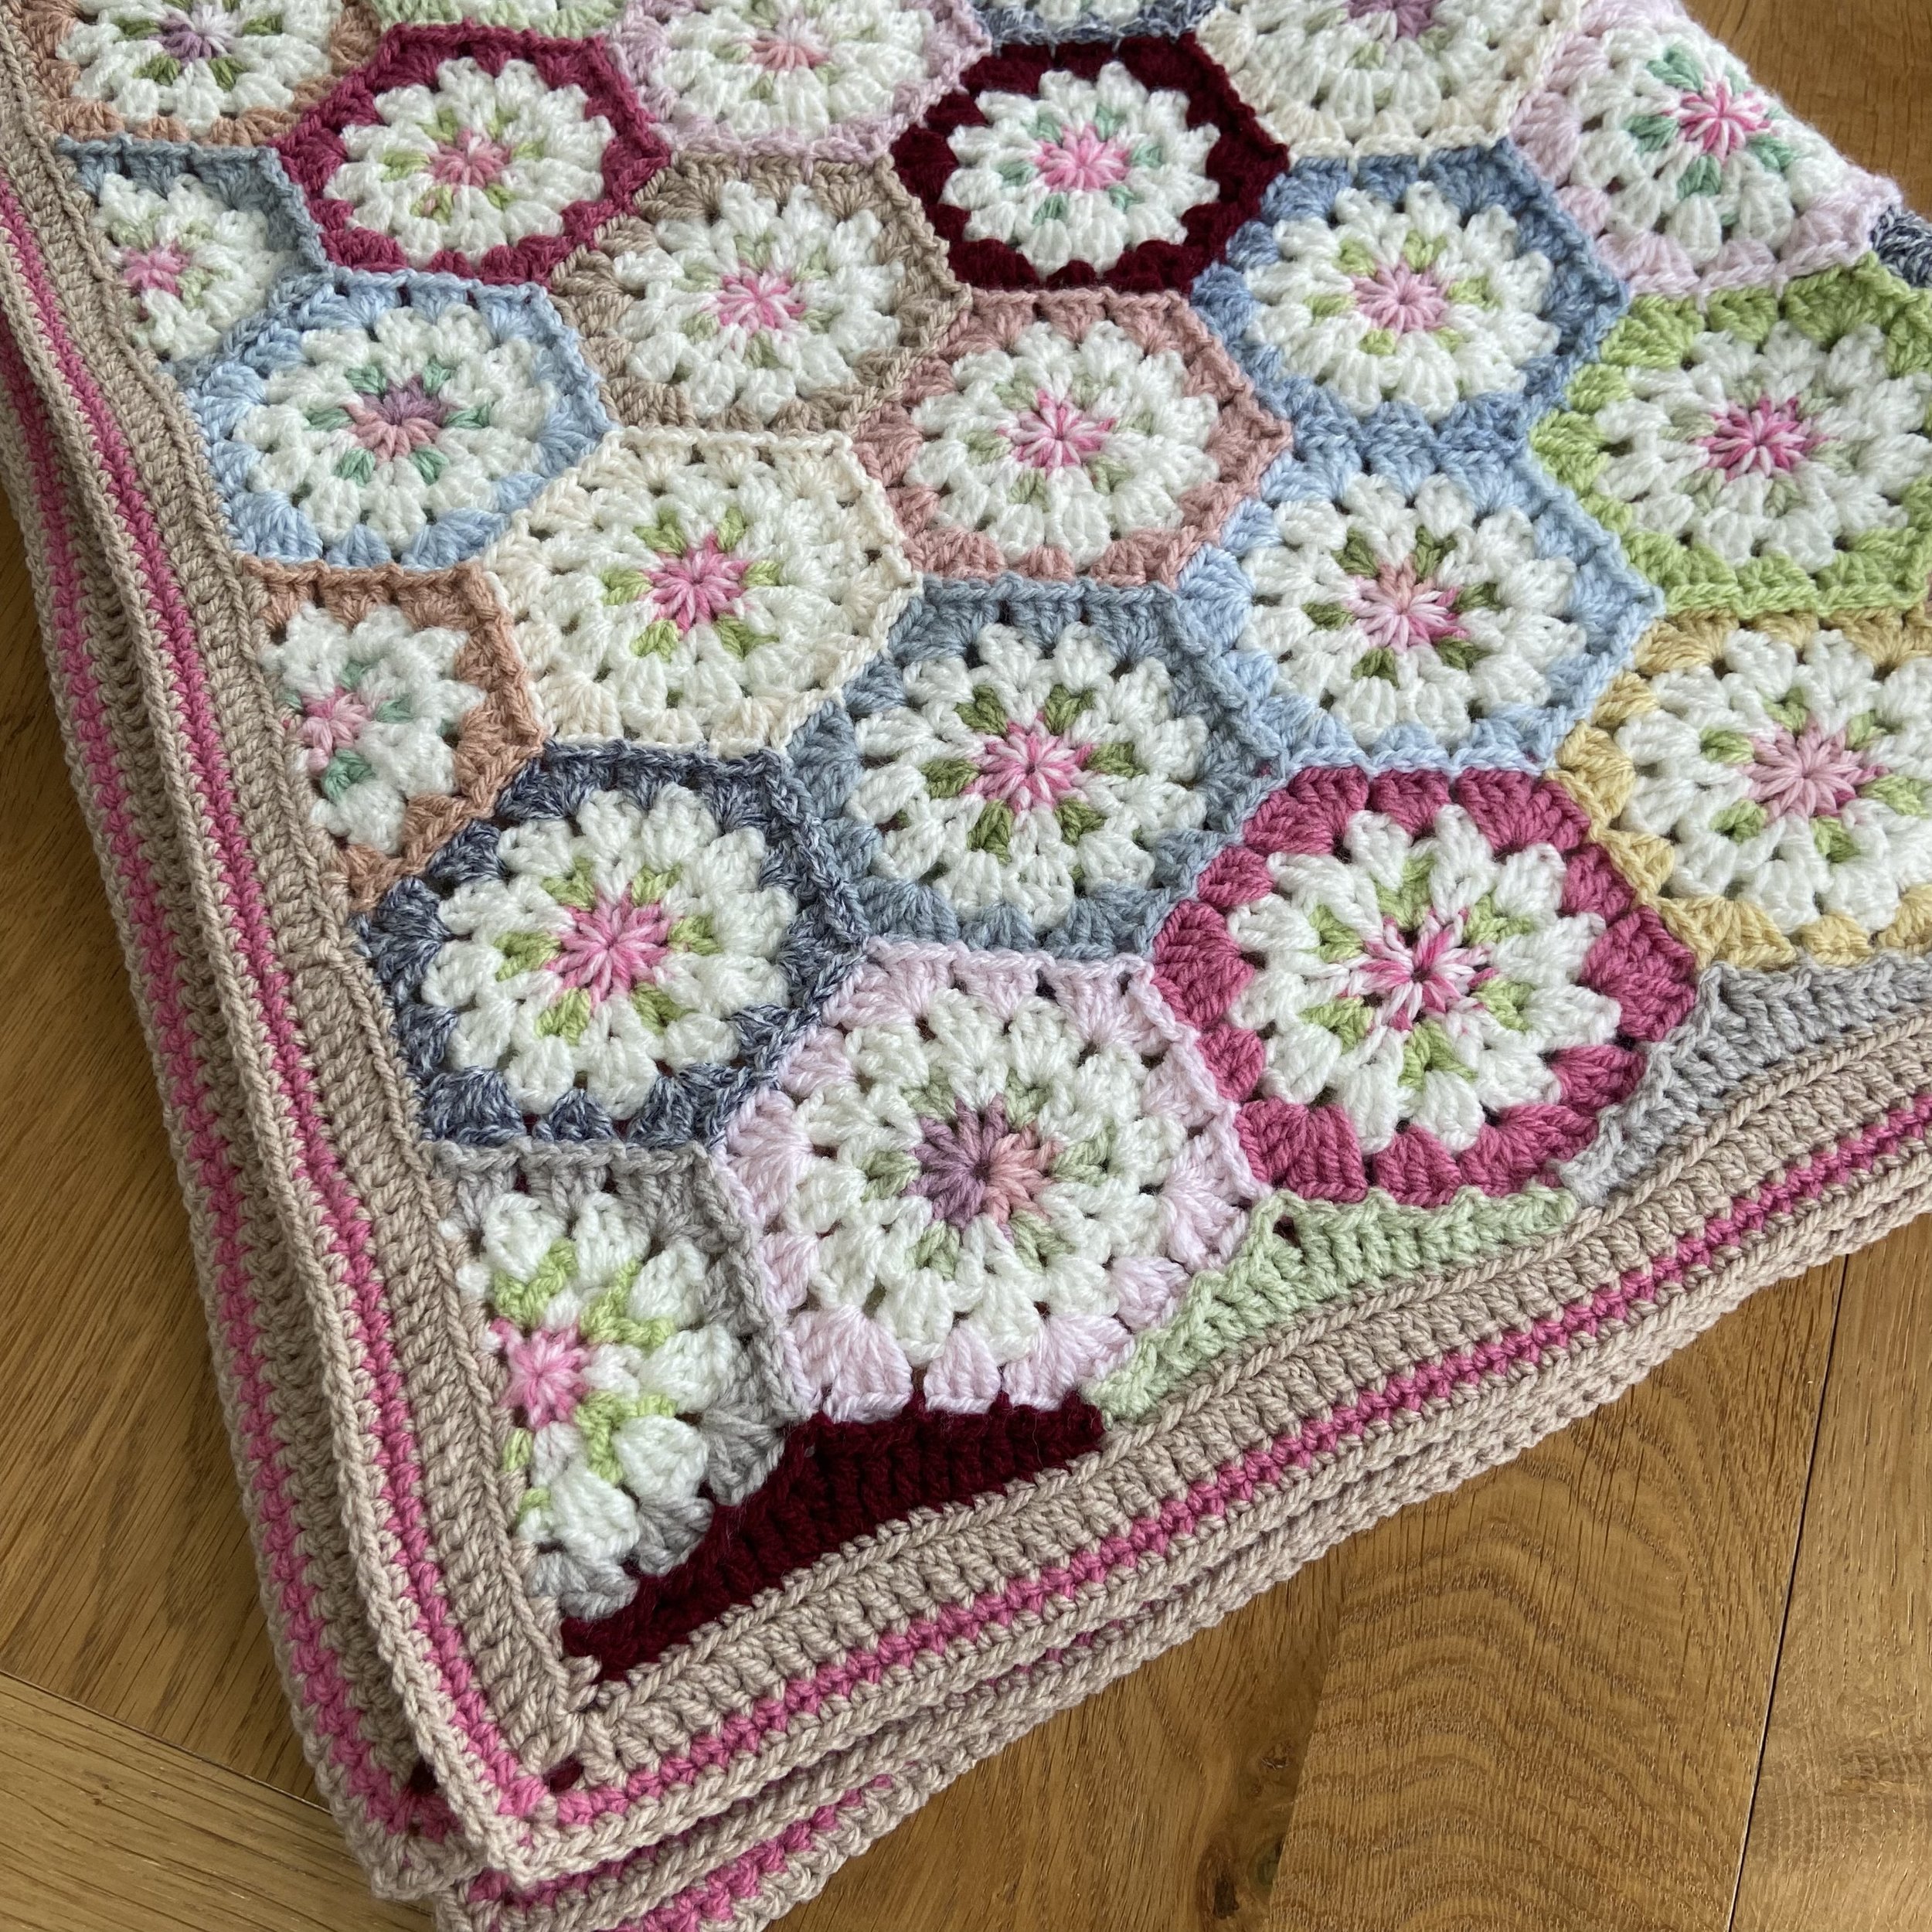
I tried a few different border options including a deep, lacy option. They all felt too fussy. It’s quite a busy blanket so I settled on something simple. In this case less is definitely more. The only part that really needs any attention is the first round. Getting the stitches in the right place will mean your blanket lays flat and you get a nice straight edge. Read on for a little tutorial on how to add the border.
Before we get to it, if you haven’t seen them already, take a look at the fantastic tutorial videos Hooked By Robin has made to accompany parts 1& 2 of this pattern.
Here is how I worked the border.
After some testing, I went down to a 3.5mm hook for the border. If your first round is looking a bit loose and wavy, going down to a 3.5mm hook rather than a 4mm might help to solve this for you too. It really depends on how tightly you crochet. You can click on the photos to enlarge them if you need to.


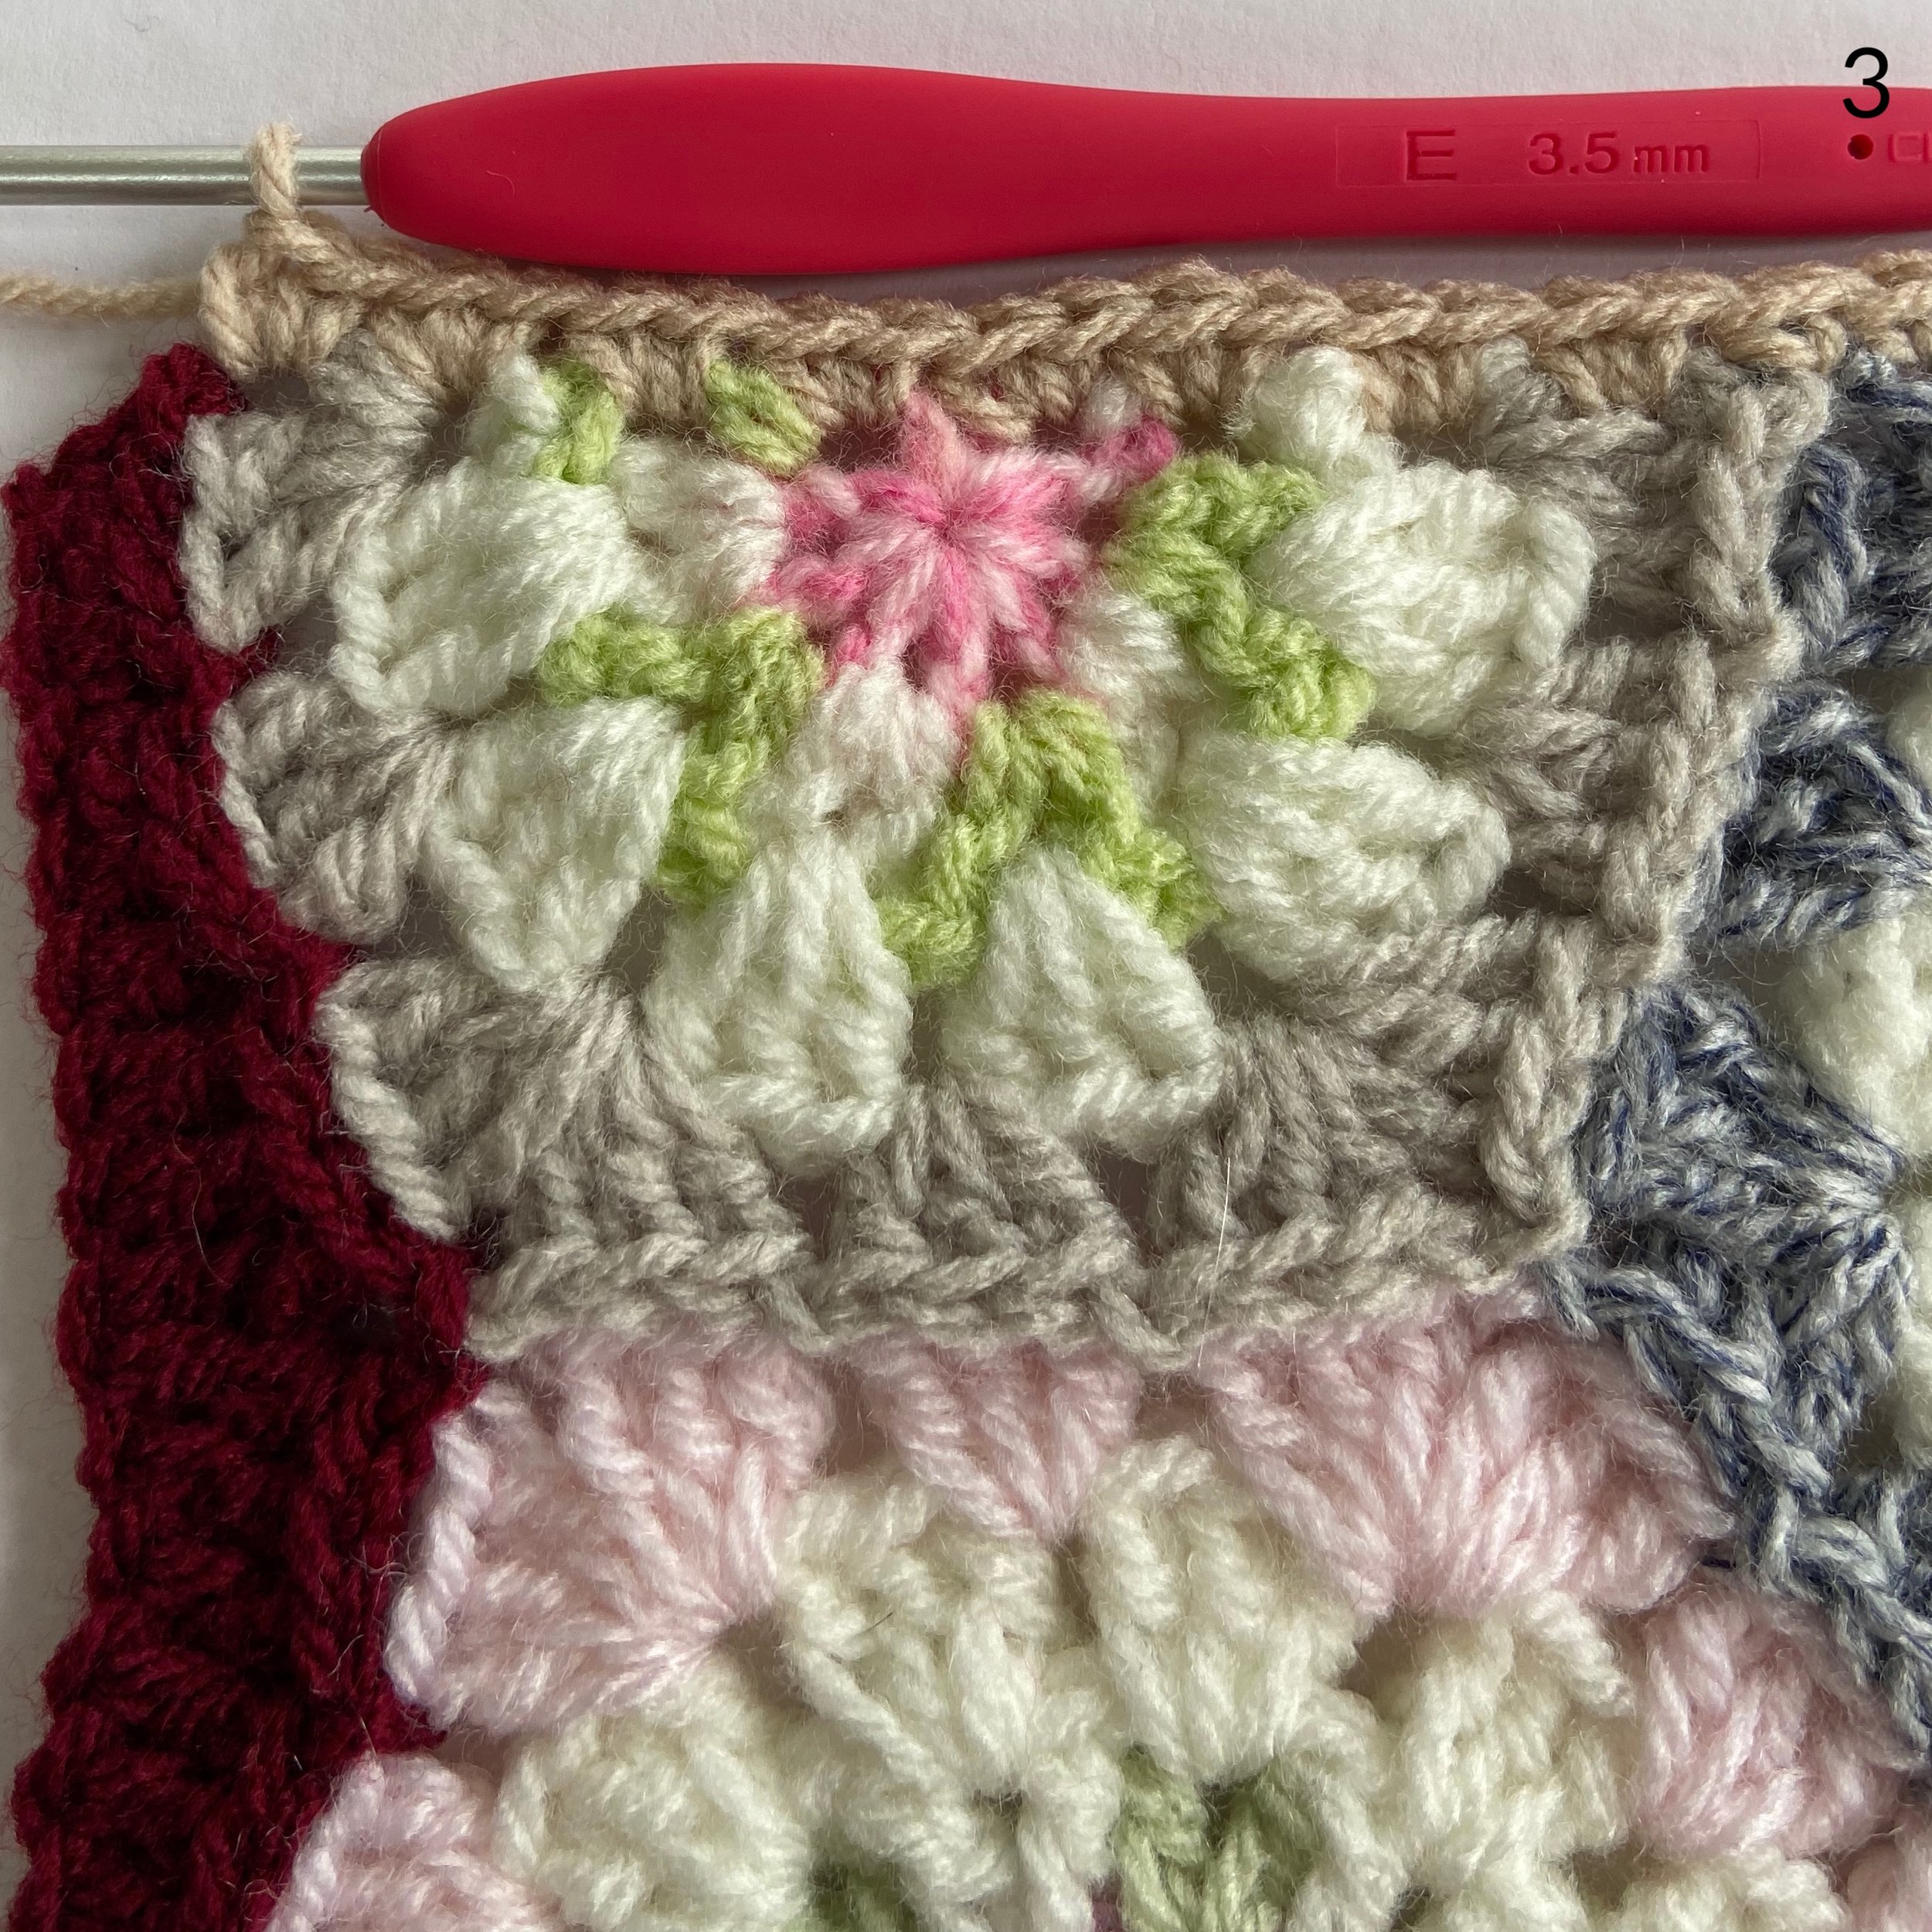
Round 1: Join your border colour (I used Oatmeal) in one of the stitches of a fill hexie and 1 ch.
1 dc in same stitch as the 1ch and in each stitch along the side of the hexie. 1 dc in the corner space.
Work 16 dc across the width of the half hexie. Thats 2 dc at the end of each round. Repeat until you reach the corner.


4. 1 dc. 2 ch, 1 dc in the end of the infill hexie to turn the corner.
5 & 6. 1 dc in each stitch until you reach a join. Dc 2 tog to join the two hexies together.
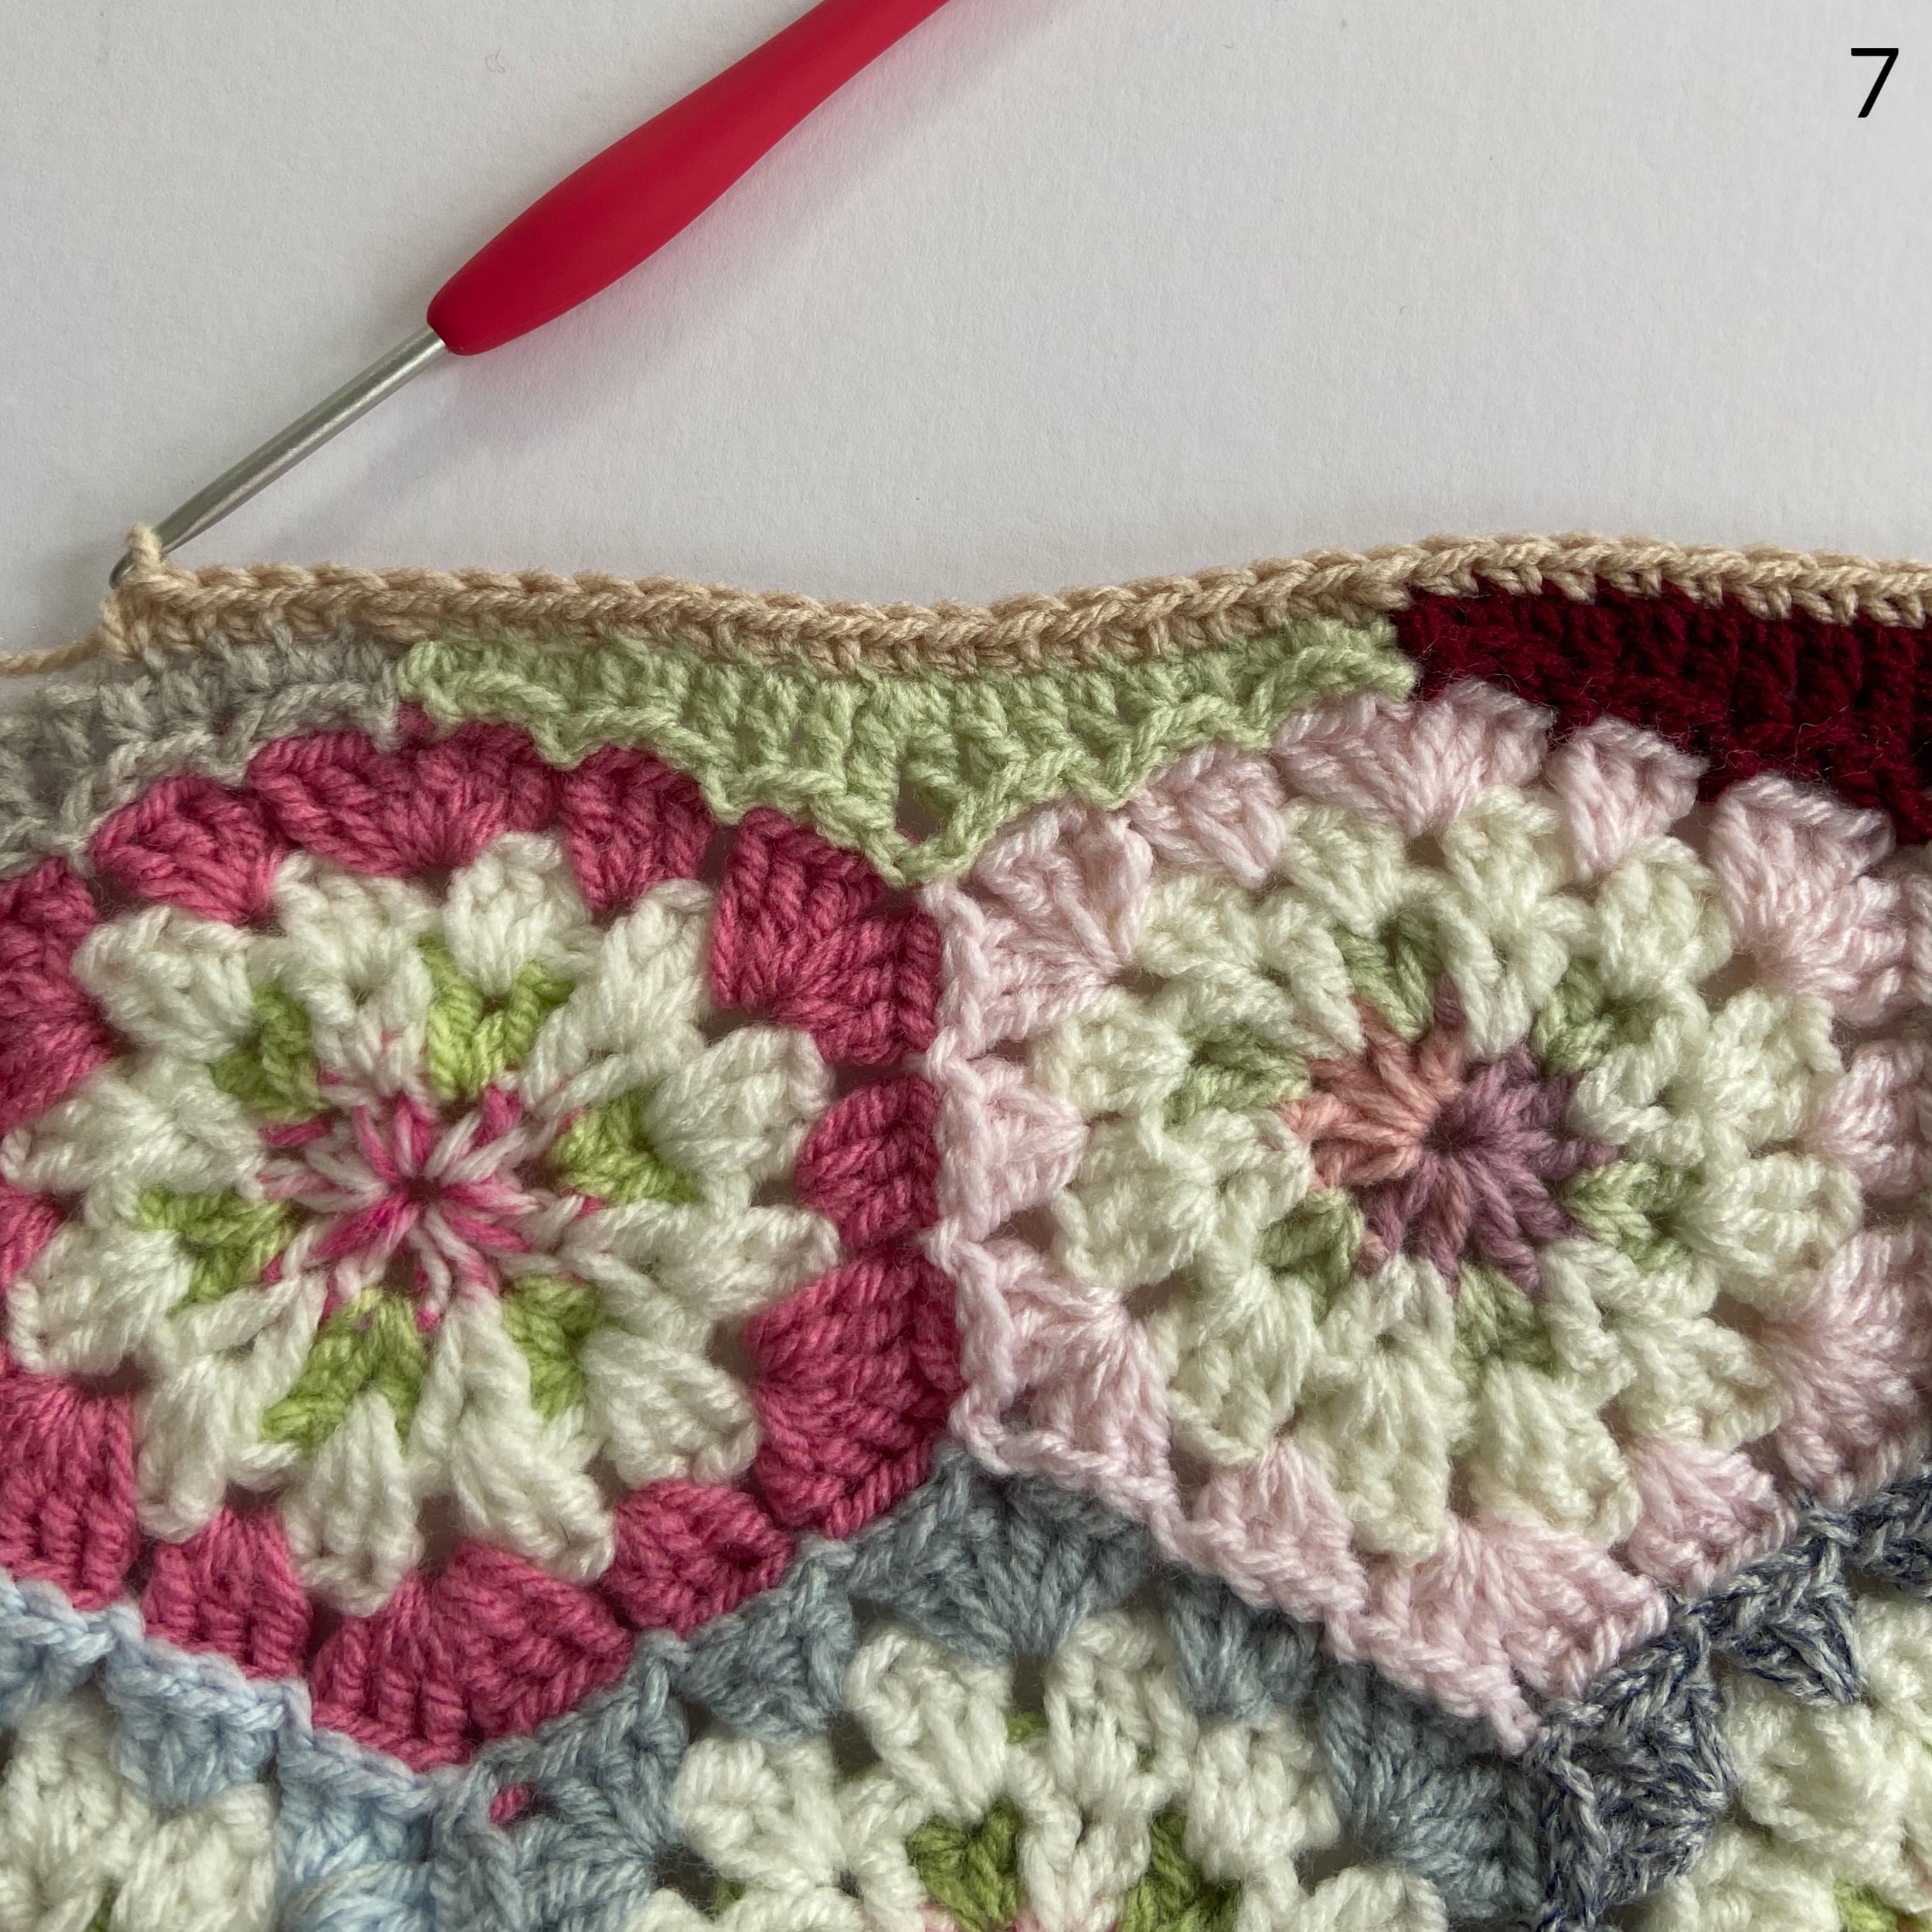


7. Continue along the side. Don’t worry if you border isn’t completely straight. This will happen as you add more border rows. When you reach the corner again, 1 dc, 2 ch, 1 dc to turn.
8. Continue all around the blanket in the same manner.
9. Ss to join in your first stitch. 2 ch to start the next round.
Round 2: 1 tr in the back loop only of each dc. At the the corners, 1 tr, 2 ch, 1 tr in each corner space to turn. Ss to join in first tr. Fasten off.
Round 3: Join contrast border colour (I used Deep Rose). 1 ch, 1 dc in same stitch and each stitch around. At the corners, 1 dc, 2 ch, 1 dc in each corner space to turn. Ss to join first stitch and fasten off.
Round 4: Join border colour. 1 ch, 1 dc in same stitch and each stitch around. At the corners, 1 dc, 2 ch, 1 dc in each corner space to turn. Ss to join first stitch and fasten off.
Sew in all your tails.
I really hope you enjoyed this project. I can see another version of this in dark wintery colours in my future 😁.
Anita x