
The Camper Van Blanket
Ever since I started crocheting ten years ago I have loved making granny squares. It’s my favourite thing to crochet and I always have a granny blanket on the go, even when I am working on other things.
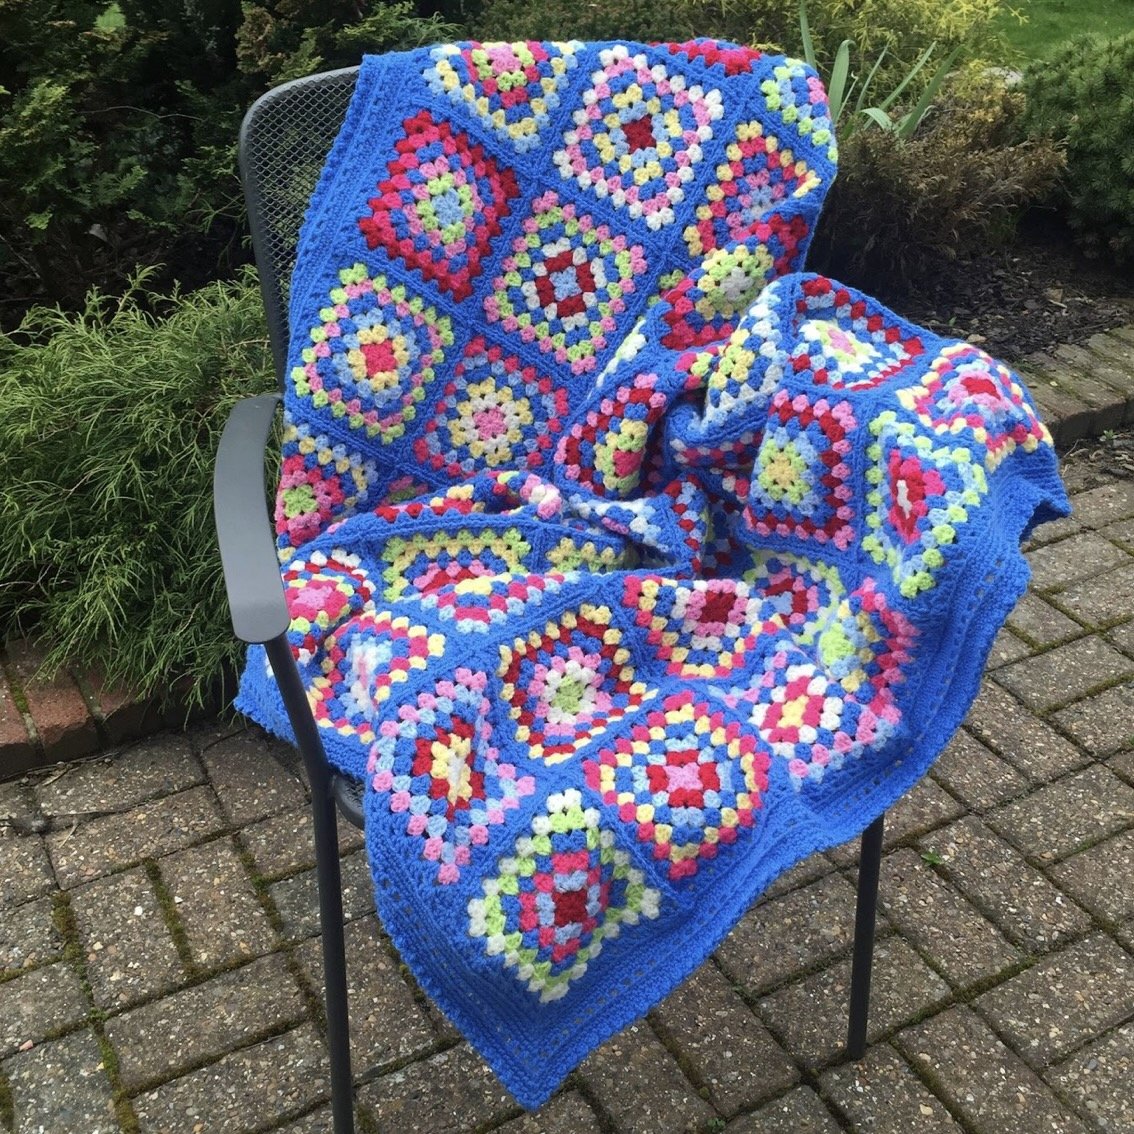
I made my first Camper Van blanket in 2015. Despite not owning a camper van, I wanted a blanket that would be a perfect companion for picnics and outdoor adventures. It has been a family favourite for years; unfortunately, all the love it has been subjected to has taken its toll. This year I have decided that I need a new one. Lots of people made the first one with me, so I’ve dusted off the pattern, made a few tweaks, and sharing it here.
I still don’t own a camper van 😁.
Here is my recipe for a granny square blanket
You can use absolutely any colours and type of yarn you like you like to make this. It’s a great stash buster and scraps of any colours work really well when joined and bordered by a single colour. If you want to use the same colours as I have, read on.
You will need:
New Fashion Dk 100g balls

5 x Saxe
1 x Lipstick
1 x Fondant
1 x Butterscotch
1 x Apple
1 x Cloud Blue
1 x Cardinal
1 x Cream.
4mm hook
Yarn Needle
You can buy the Yarn Pack from Snufflebean Yarn
Step One - Make your squares
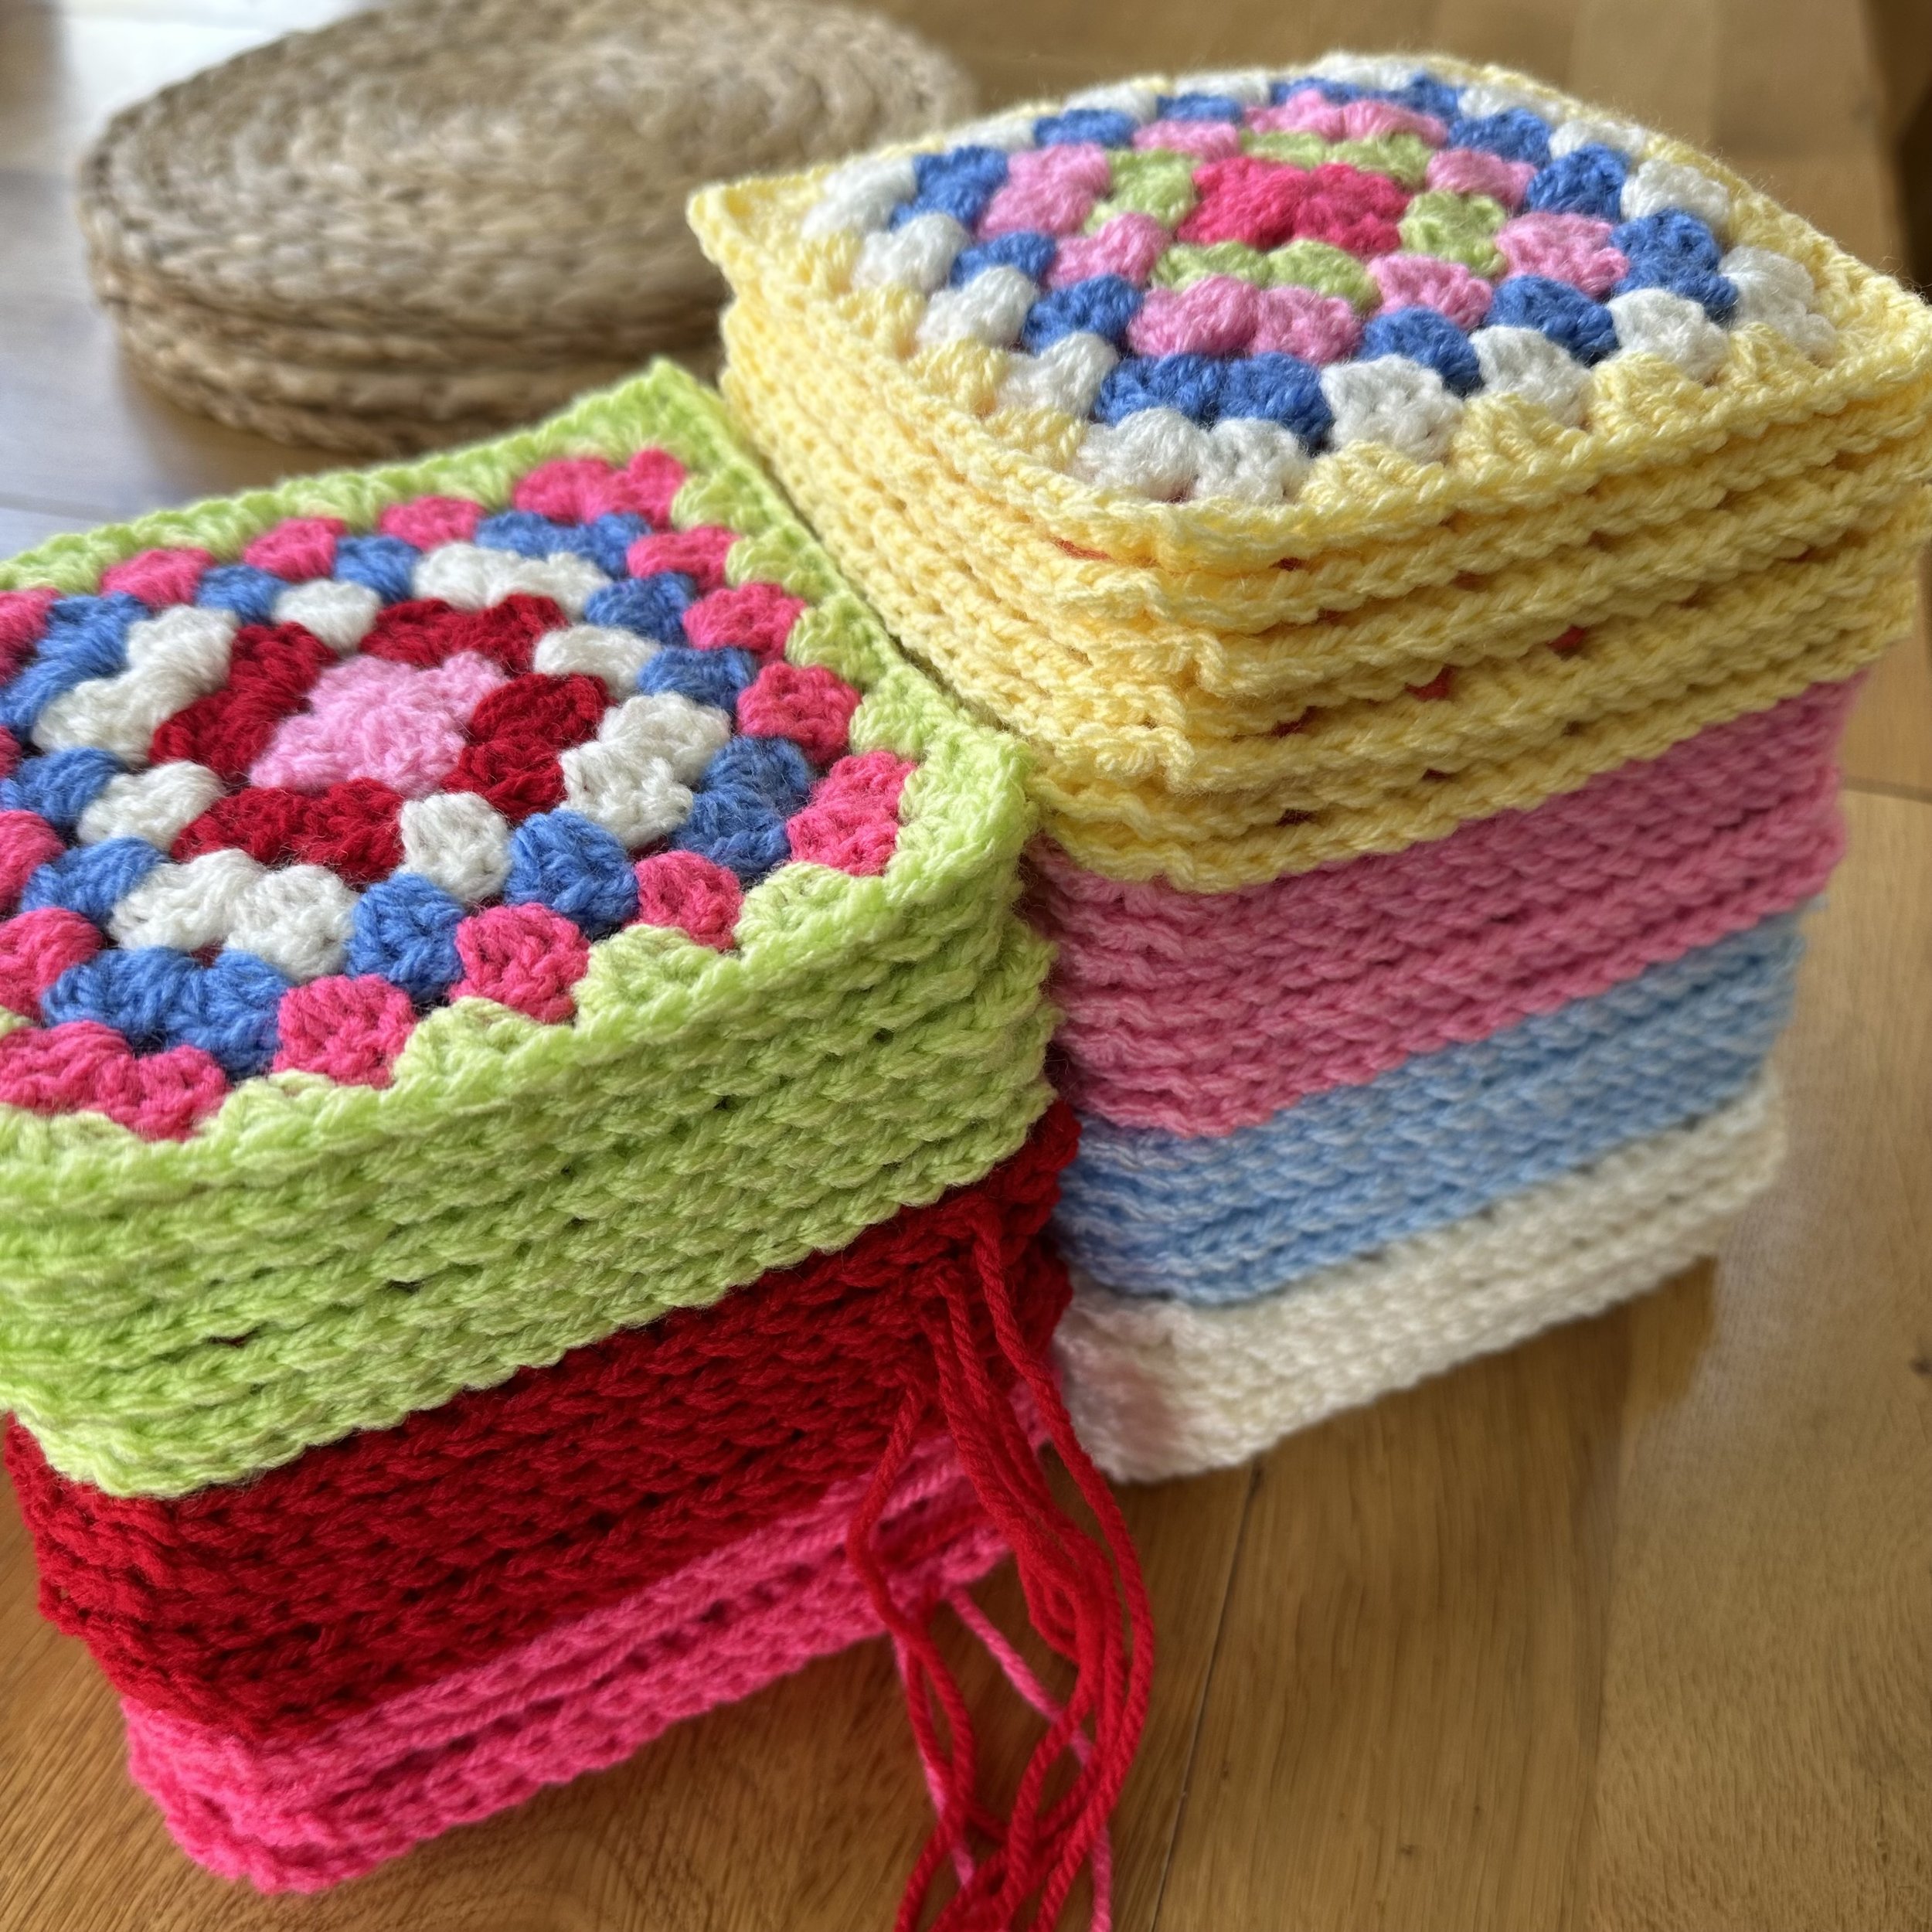
I am making a slightly smaller blanket this time. My original version was 8 x 8 squares and you will have enough yarn to make it this size if you want to. This time I am making a 7 squares x 7 squares blanket. Each square has 7 rounds. Rounds 1-3 and 5-6 are randomly chosen from Lipstick, Fondant, Butterscotch, Apple, Cloud Blue, Cardinal, and Cream. Round 4 of every square is Saxe blue. I often use a repeated round like this as it really seems to anchor all the other colours together. The 7th round is also Saxe Blue, but this is worked later as continuous join so just make your squares to round 6 for now.
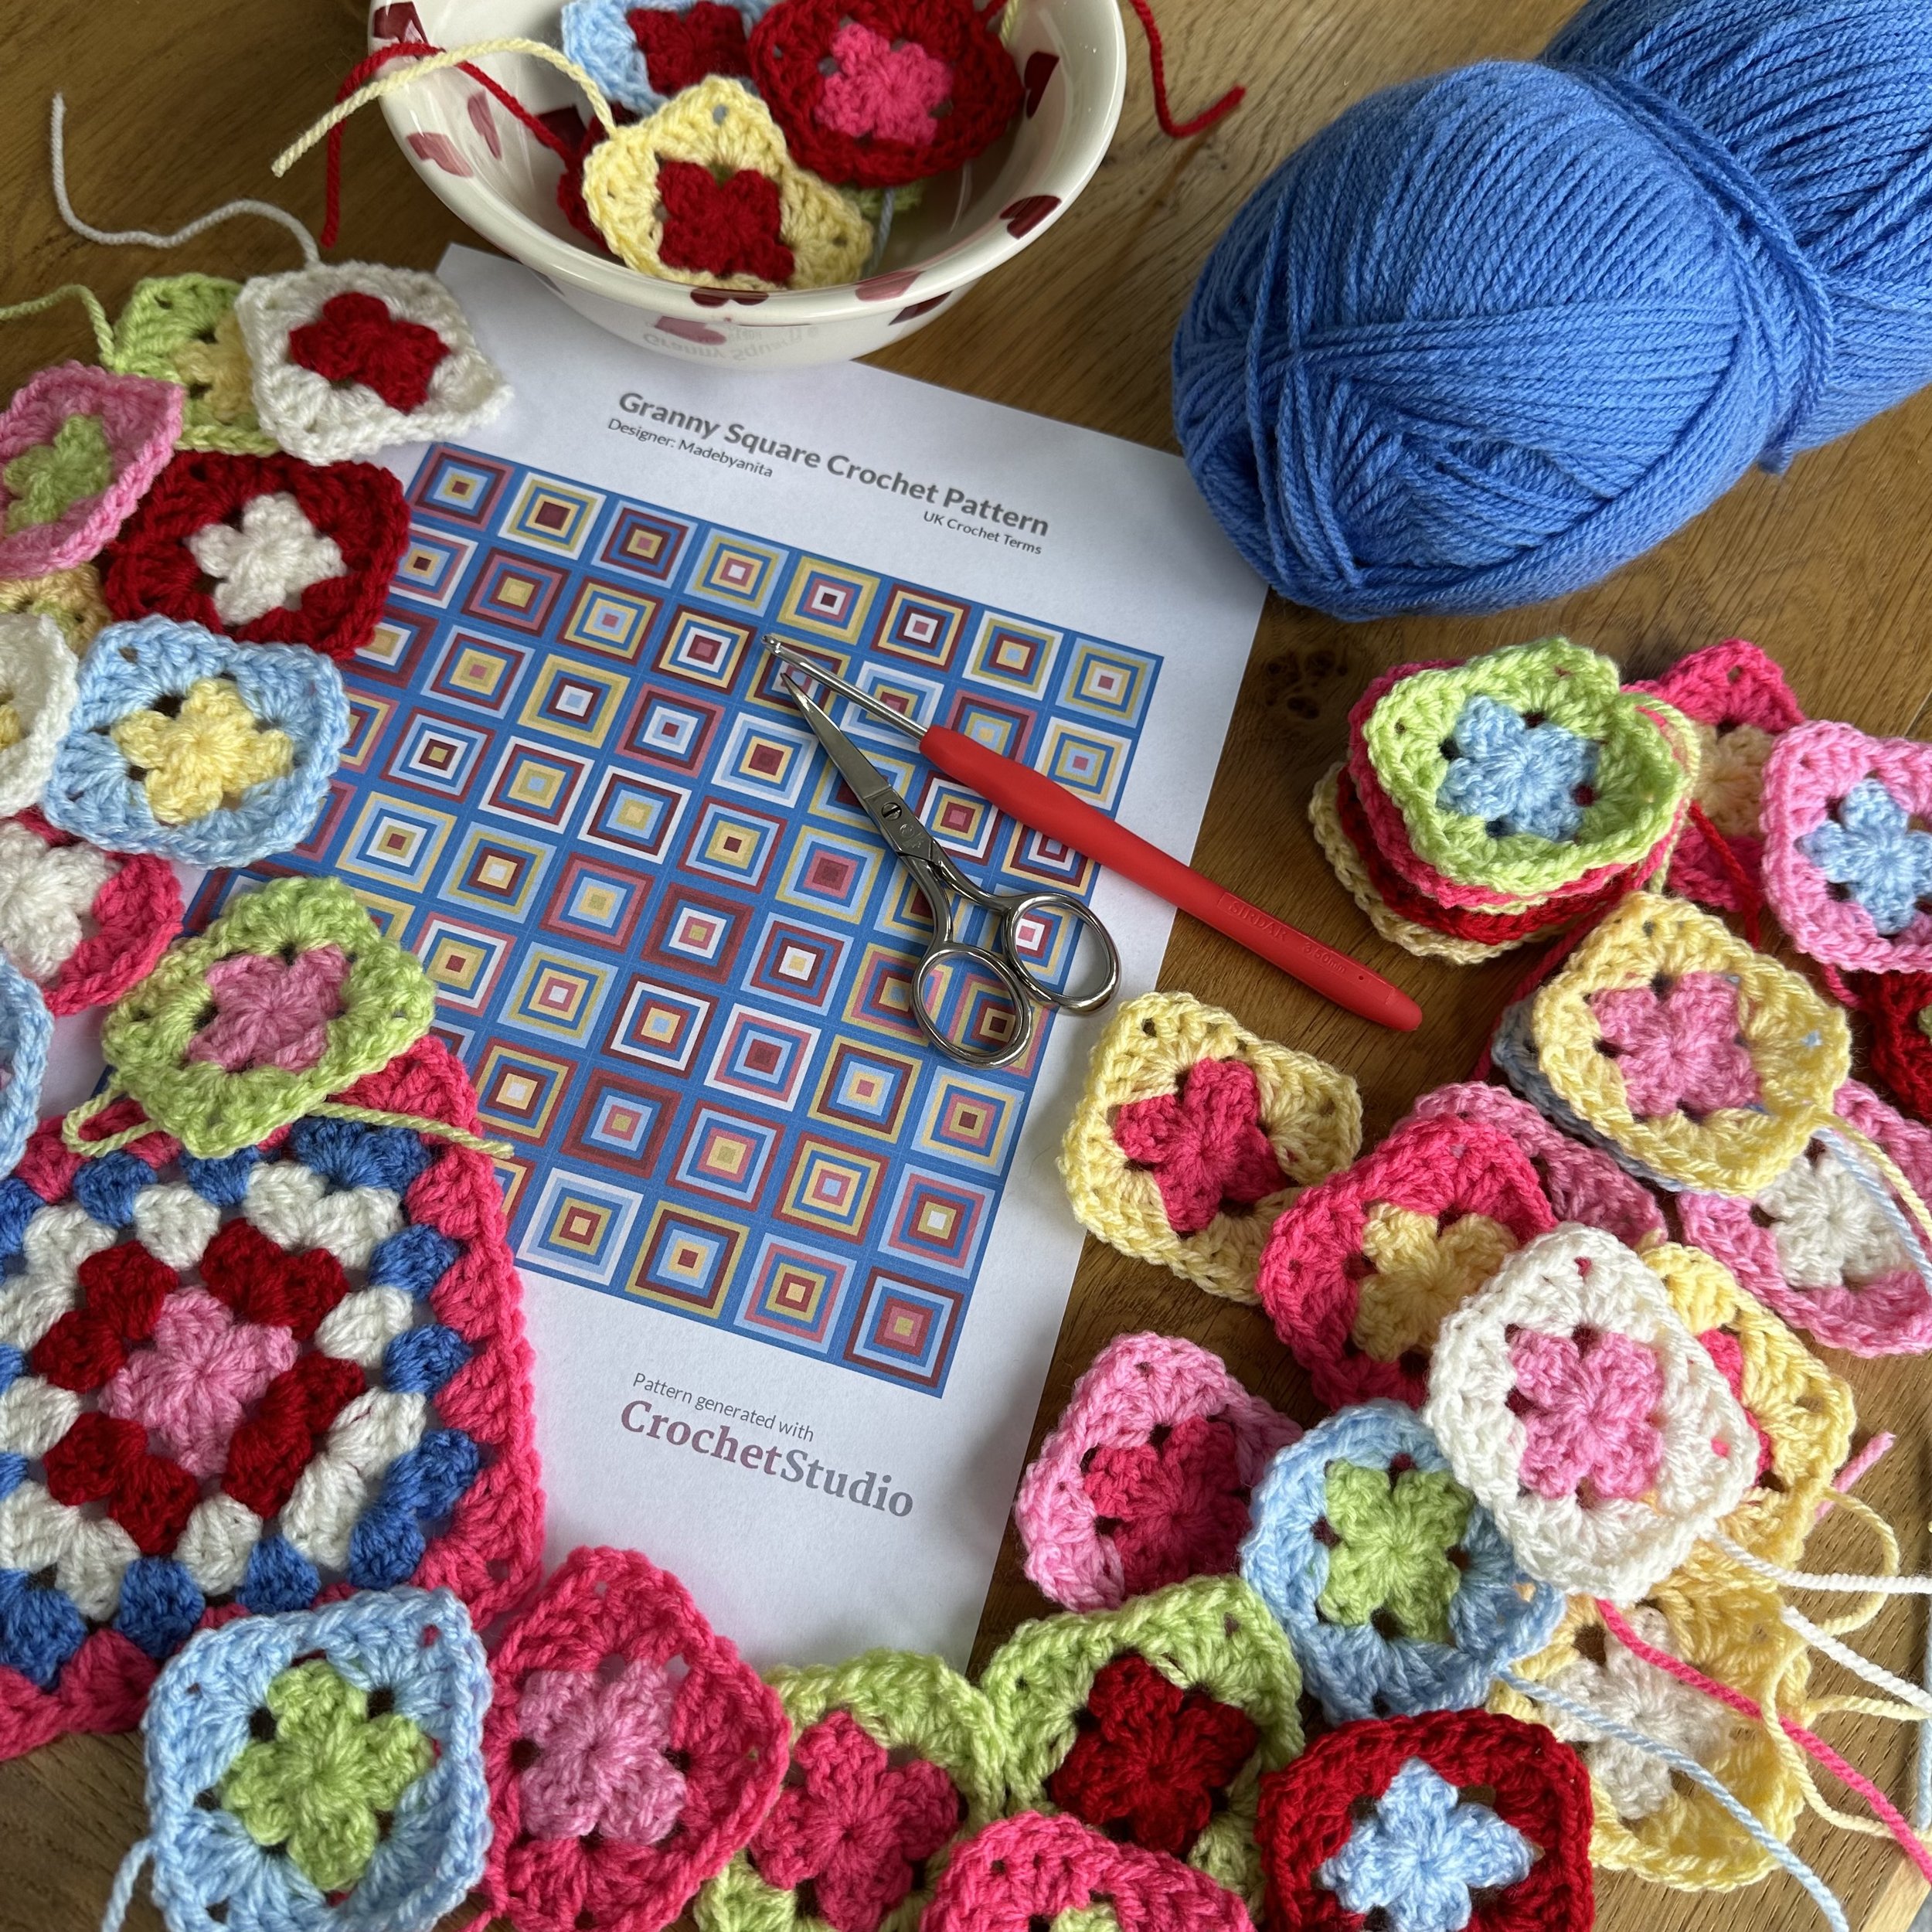
I generated the layout for my squares using the Crochet Studio App. If, like me, you find it difficult to choose colours completely randomly then you really need this app. In just a few taps you can make a palette and generate a printable Granny Square pattern with a square by square colour layout to follow. You can access the pdf that the app made for me here, or you can download the app and make one for yourself.
It’s free. Find it in the App Store or Google Play store.
If you want to find out more about Crochet Studio, Hooked By Robin made a fantastic video.
If you are already an app user, in blanket settings select 7 x 7, seven round squares, Saxe Blue as the joining round, use make some magic to randomly generate your squares and then use drag and drop to make each round 4 Saxe Blue also.
There are as many ways to make granny squares as there are crocheters. You can use your preferred method or you can make them like I do. If you aren’t a fan of sewing in tails, I have a method that will allow you to make granny squares with only one tail to sew in no matter how many rounds you do. The video below will show you step by step how I make them.
Step 2 - Joining your squares

I used Saxe Blue and continuous join to put all my squares together in the 7x7 arrangement. You can use any number of squares in any arrangement you like. If you haven’t tried continuous join before, I highly recommend giving it a go. It’s really quick to do and, best of all, only gives you two ends to sew in. Snufflebean Yarn has an excellent video tutorial to show you how it’s done. I was going to a video for this myself, but Laurelin has such a clear and easy to understand way of explaining things there was really no need for me to do it again!
Step 3 - Border
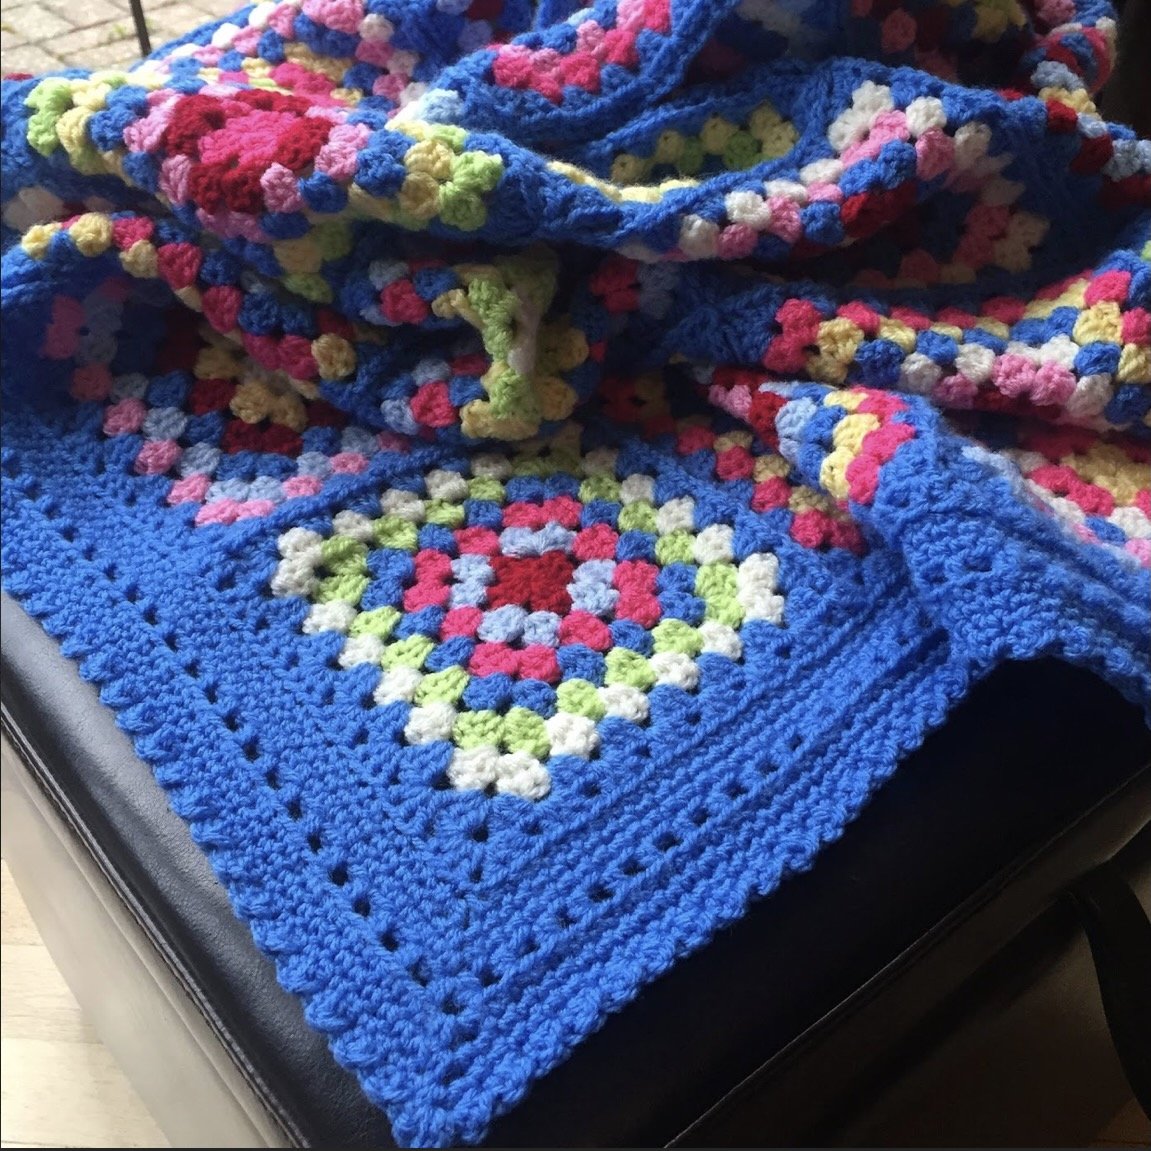
Once you have joined your squares, the final step is to add your border. I have used one of my favourite ,’ go to’ borders for this blanket. It’s one of those ‘If in doubt, choose this one’ type of borders and goes with absolutely everything.
Round 1 - With right side facing up, join Saxe Blue in any corner space. 2ch Counts as 1st tr) 2tr, 2ch, 3tr in same space to form corner. 3tr in each space until you reach a point where 2 squares join. 1tr in 1st corner space, tr2tog starting in 1st corner space and finishing in 2nd corner space, 1tr in 2nd corner space. Continue working in the same manner around the blanket. At the corners work 3tr,2ch,3tr. When round is complete, ss to join. Do not fasten off.
Round 2 - 1ch (does not count as a stitch), 1dc in back loops only of each stitch around. At the corner 2dc, 2ch 2dc. When round is complete, ss to join. Do not fasten off.
Rounds 3-4 - 1ch (does not count as a stitch), 1dc in each stitch around. At the corners, 2dc, 2ch,2dc. When round is complete, ss to join, fasten off.
Round 5 - Rejoin Saxe Blue in any corner space. 4ch (counts as 1tr and 2ch), 1tr in same space to form corner. * 1ch, sk 1dc, 1tr * Repeat from * to * around. At the corners work 1tr, 2ch, 1tr. When round is complete ss to join. Do not fasten off.

Here is the border completed to the end of round 4
Round 6 -7 - 1ch (does not count as a stitch), 1dc in each stitch around. At the corners, 2dc, 2ch,2dc. When round is complete, ss to join, Do not fasten off. TURN.
Round 8 - With right side facing down, 2ch (counts as 1tr), ss in next stitch, then work alternating tr and ss all around. At the corners, work one of each stitch in the order they appear in the alternating pattern. There are no chains in the corners for this round. Ss to join and fasten off.
Sew in all tails.
Tah Daaaa! Your Camper Van blanket is complete and ready for adventures!

Now that’s what I call an adventure! This wonderful version of the Camper Van Blanket was made by Catherine Thornton.